
Text, fonts and vectors
Set type, run text along a path, use your own fonts, and edit shapes and pen paths.
Keys on this page are shown for your computer, with the other platform's keys after them.
Text
Press T on Windows (T on Mac) and click to make a text box that grows with its text, or drag to make a box of a fixed width that wraps. Double-click a text, or select it and press Enter on Windows (↩ on Mac), to type in it; Esc on Windows (Esc on Mac) finishes. Pasting into a text brings plain text.
The inspector's Text section holds Font, Weight, Font size, Line height, Letter spacing, alignment (left, centre, right; top, middle, bottom), Italic and Text colour, and the box's size: Auto width (grows with its text), Auto height (wraps at its width) or Fixed size.
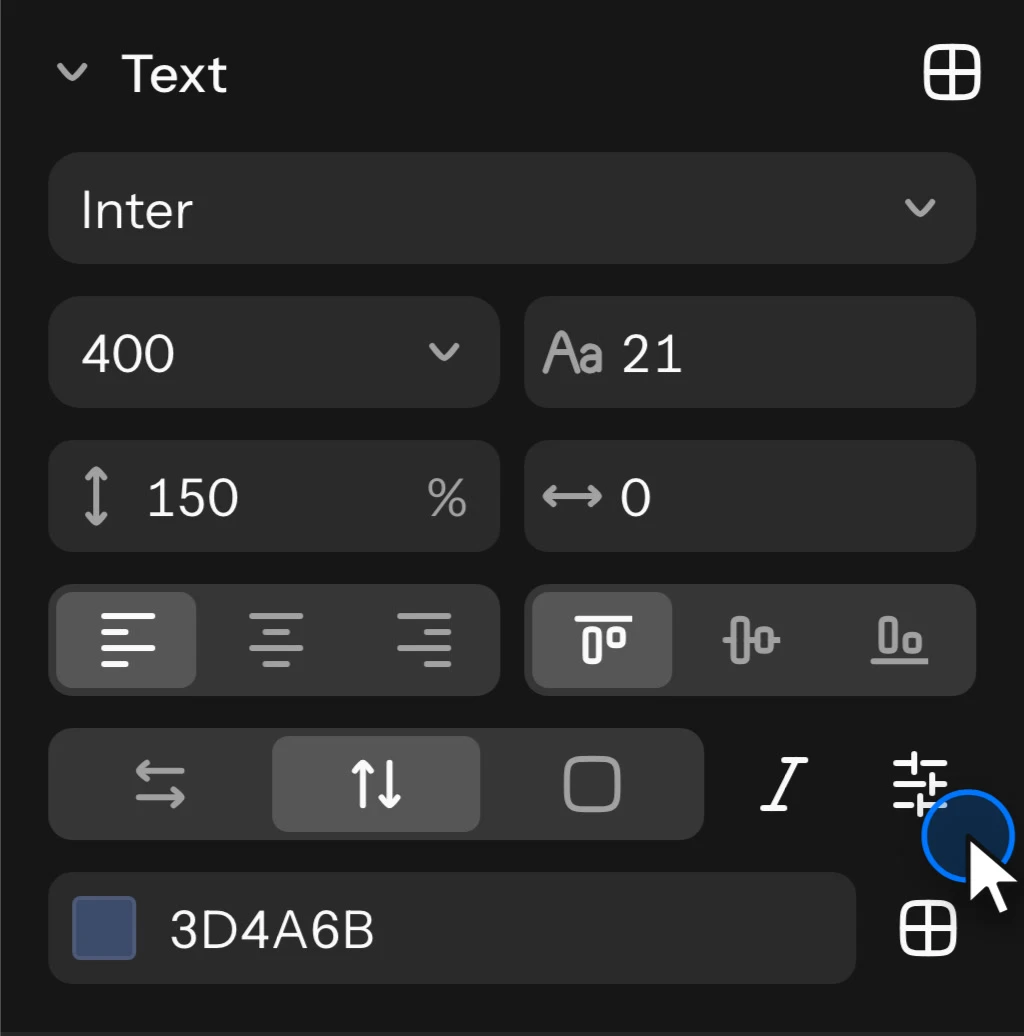
Type settings (the button in the Text section) has more:
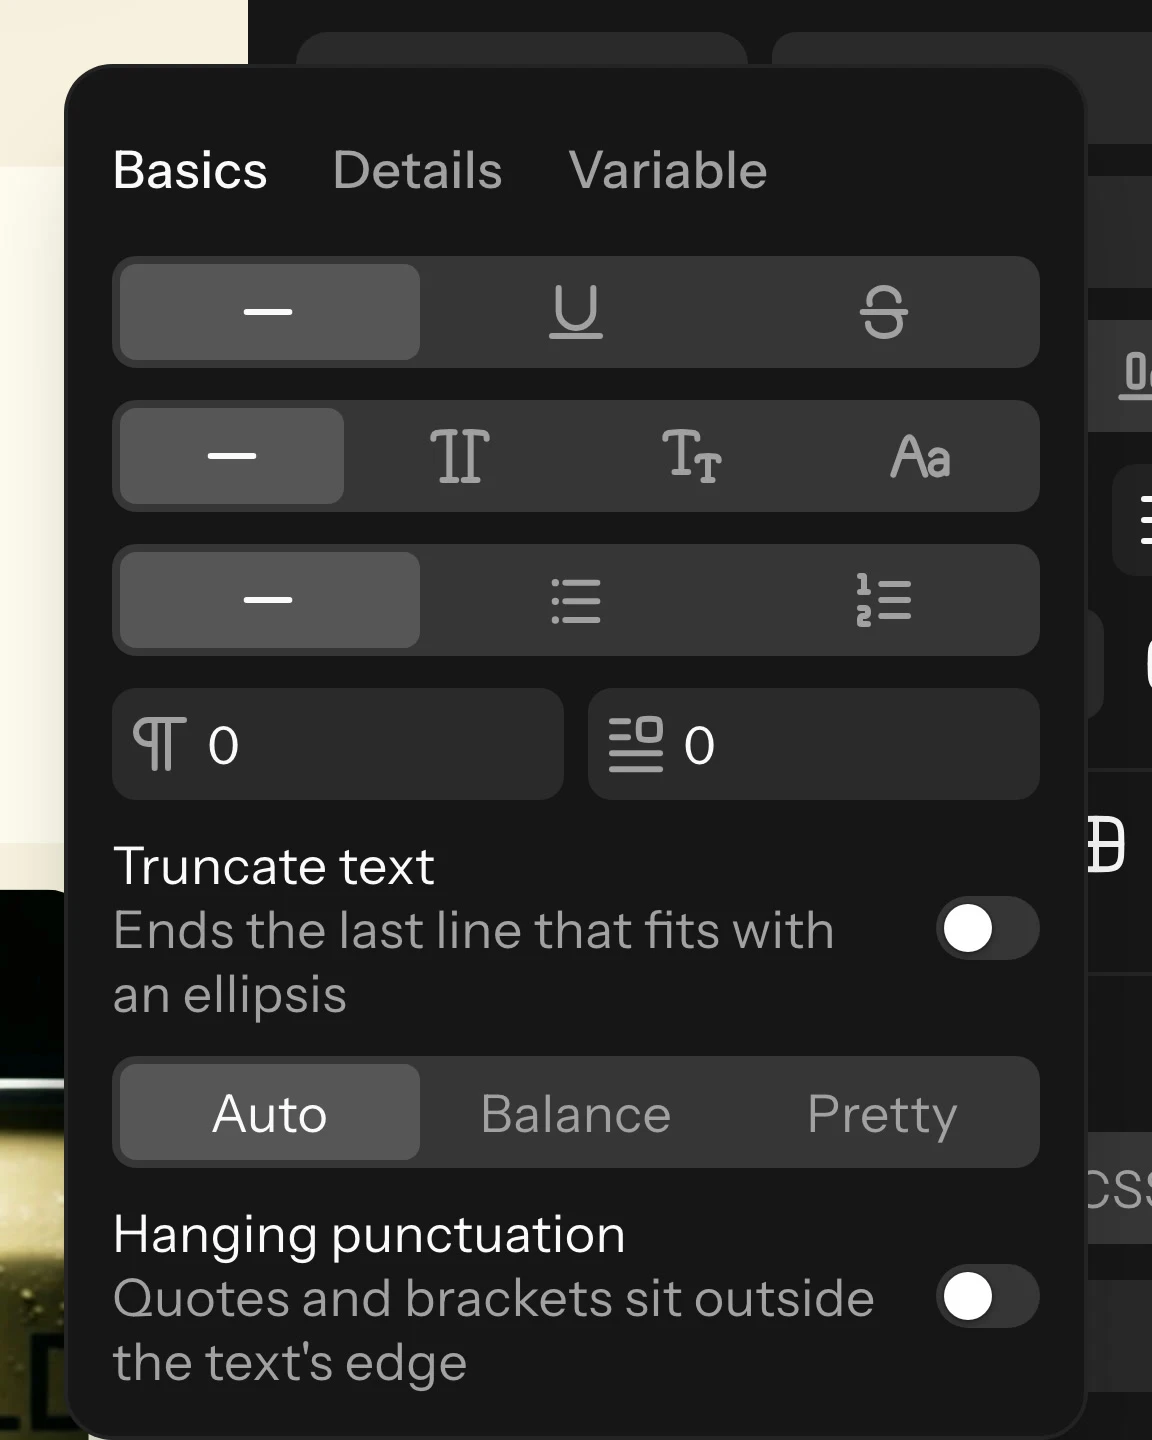
- Basics: Decoration (underline, strikethrough), Letter case, List, Paragraph spacing, Paragraph indent, Wrap style (Auto, Balance, Pretty) and Hanging punctuation.
- Truncate text: ends the last line that fits with an ellipsis. Set Max lines to cut it after that many lines.
- Details: the font's OpenType features (numbers, ligatures, alternates, stylistic sets), shown only when the font has them.
- Variable: a slider for each axis of a variable font.
Lists: press Ctrl+Shift+8 on Windows (⇧⌘8 on Mac) for a bulleted list or Ctrl+Shift+7 on Windows (⇧⌘7 on Mac) for a numbered one, or pick List in Type settings. Press it again for plain text.
While you type with some words selected, font, size, weight, italic, colour, letter spacing, case and decoration change only those words. Line height, spacing, alignment, truncation and type features apply to the whole text. Save a text setting as a text style to reuse it (see Styles).
Text on a path
With Text (T on Windows (T on Mac)), point at the outline of a shape or a pen path until the text cursor shows, click, and type. The shape becomes the text's path: the text runs along it from where you clicked, and takes the shape's fill as its colour. Or select a text and a shape together and choose Set text on path.
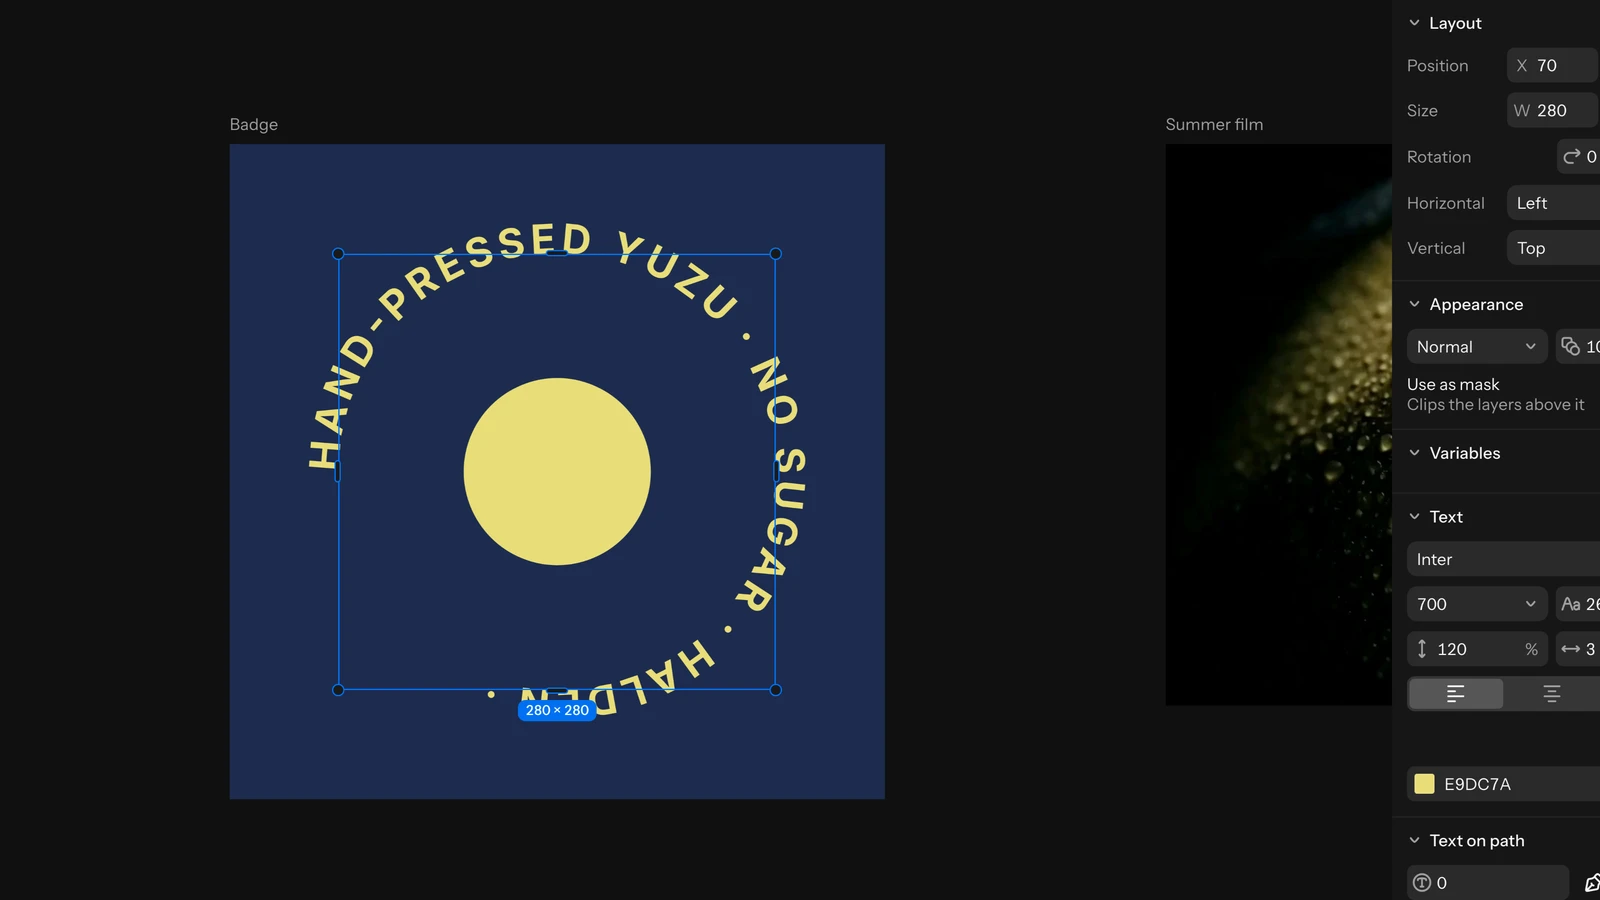
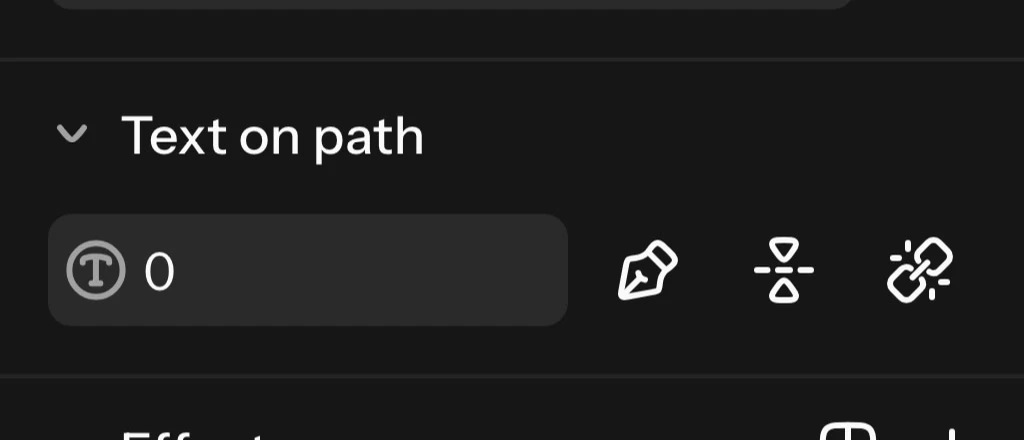
Moving, scaling or flipping the text carries its path. Double-click the text to type in it. Press Enter on Windows (↩ on Mac), or Edit path in the inspector, to edit its path's points as you would a vector's; Esc on Windows (Esc on Mac) leaves either. In the inspector's Text on path section set where it starts along the path, Flip text orientation to put it on the path's other side (inside a circle, for example), or Detach from path to make it a plain text box again and get the path back as a vector. The text's alignment places it at its start: left starts there, centre centres on it, right ends there. It exports as text along the path in SVG, and as outlines in PDF and with Outline text.
Fonts
Pick a font in the Font field of the Text section. The list shows each font in its own look; type in Search fonts, or narrow it with All, In this project (fonts this board's texts and text styles use), Uploaded, On this computer, Recent (your last picks) and Variable. Where the Google Fonts catalogue is available, a Google filter lists its families.
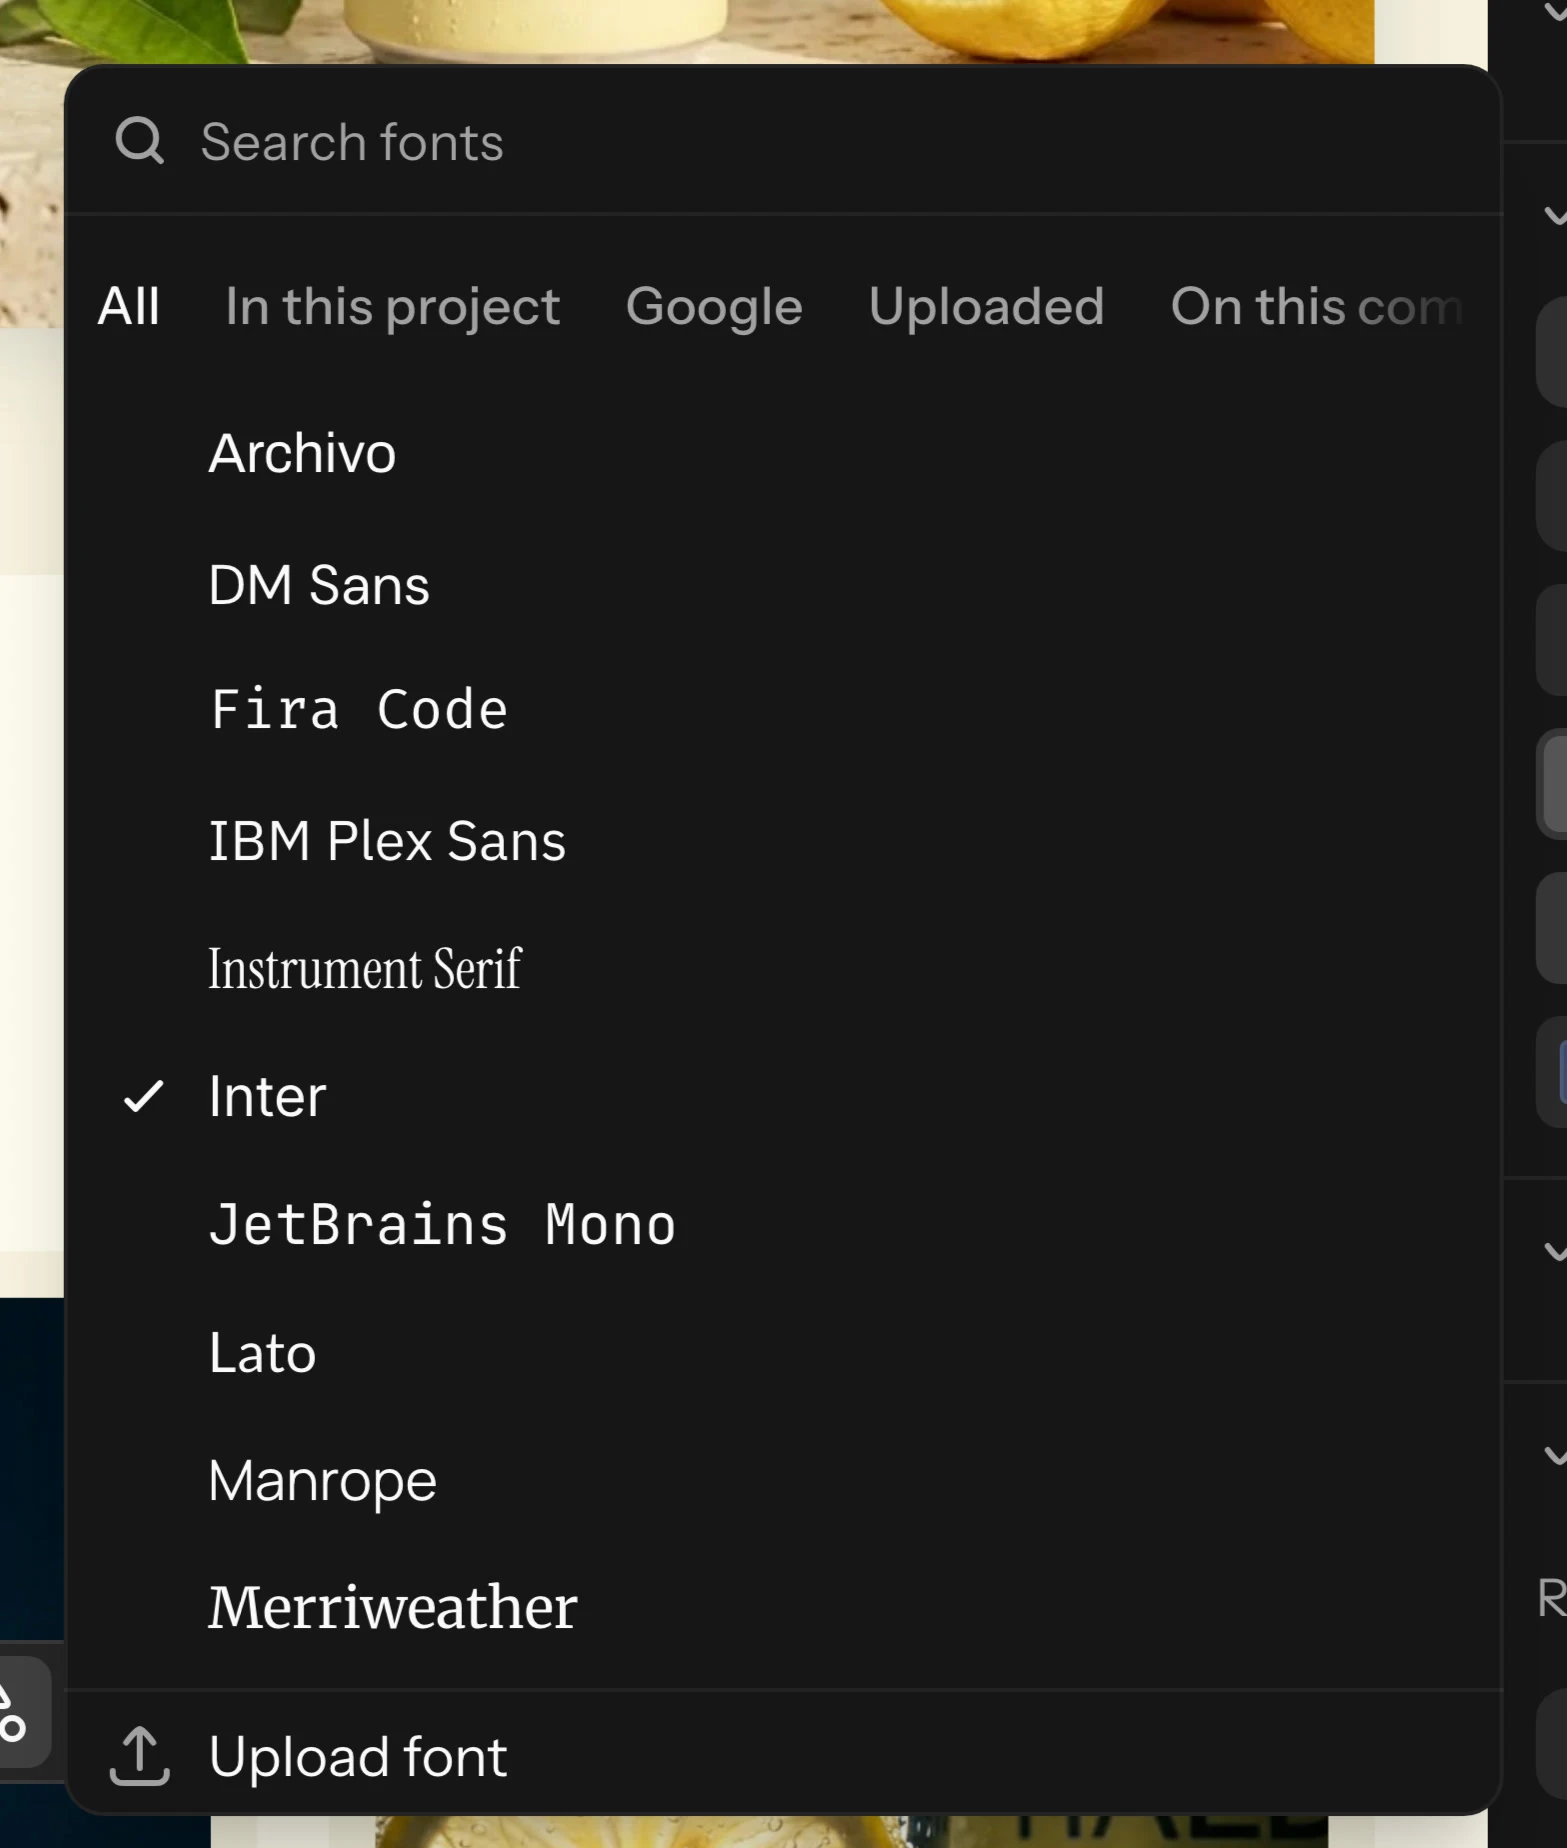
- Raelume's fonts are open-licence fonts served by Raelume, ready on every board.
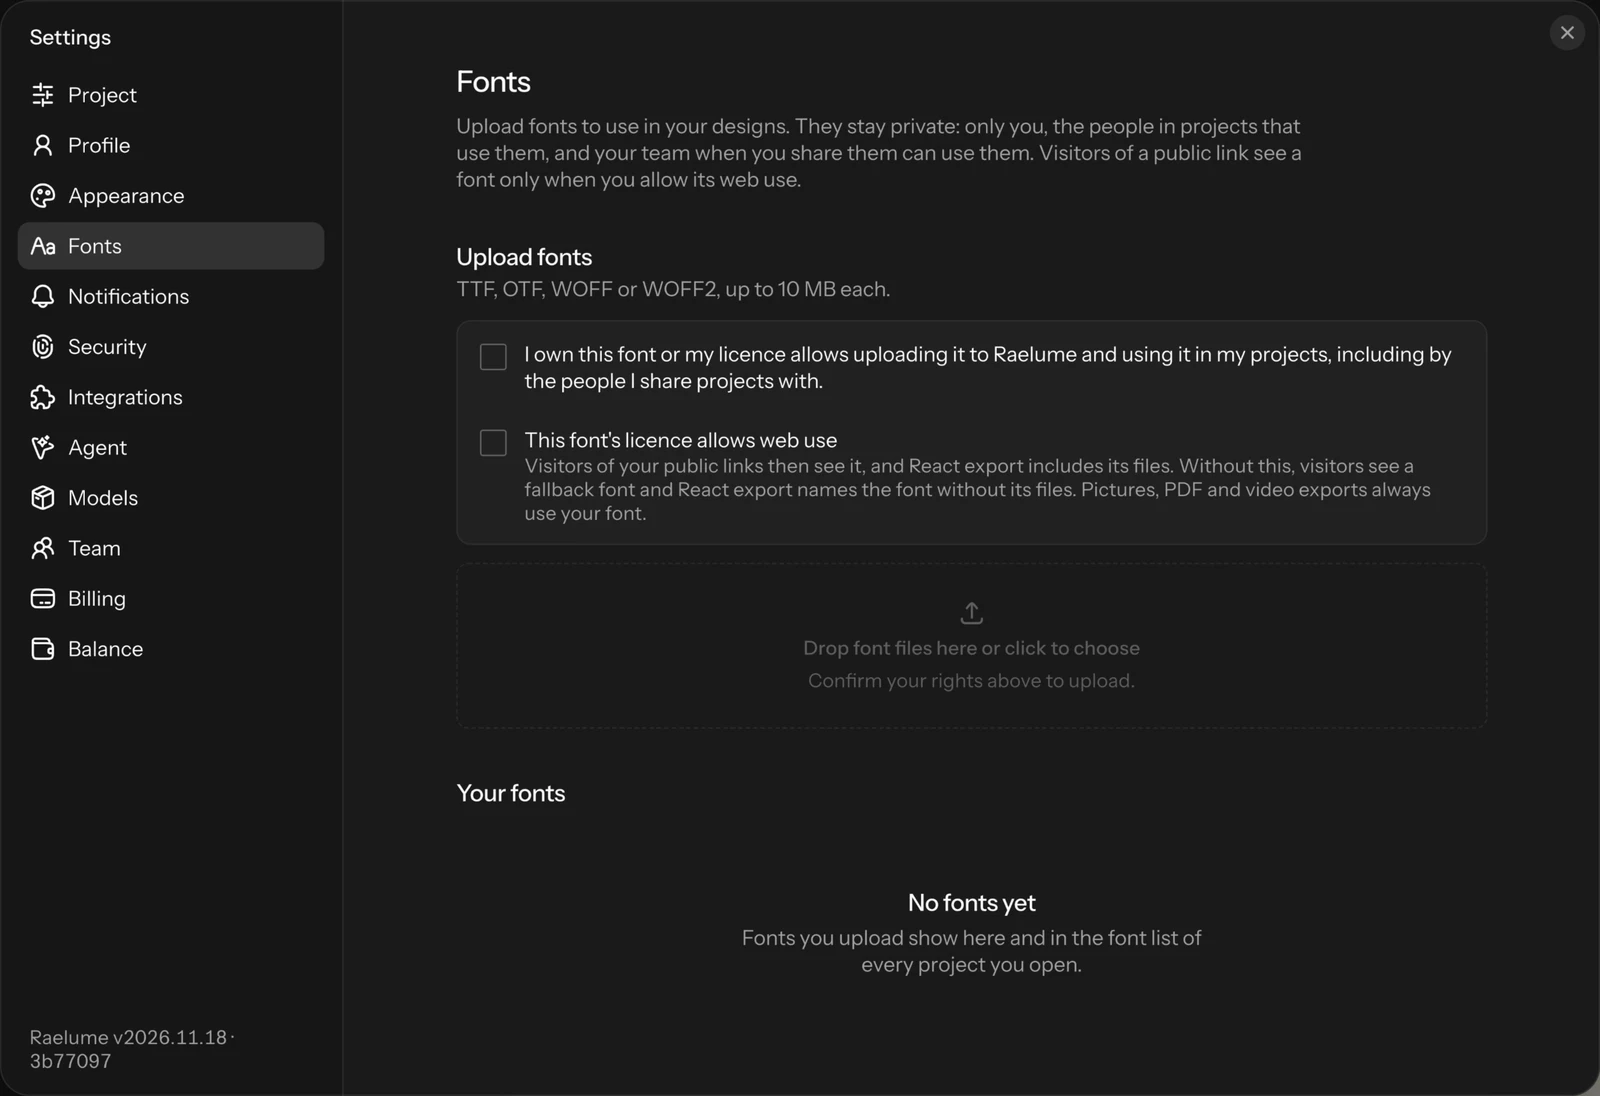
- Upload your own fonts in Settings › Fonts, or with Upload font at the foot of the font list. Files can be TTF, OTF, WOFF or WOFF2, up to 10 MB each. Before uploading, tick that you own the font or its licence allows it.
- Fonts on this computer: open On this computer and click Allow fonts on this computer; your browser asks you first, and nothing is read before you allow it. This works in Chrome and Edge; other browsers can't list your fonts, and the list says so. A font you pick from it shows only for people who have the same font installed; everyone else sees a fallback font and, if they can edit, a notice to replace it. To share it with the project, click Upload beside it: it goes through the same rights tick as Settings › Fonts and becomes an uploaded font.
Uploaded fonts are private: they are in your own library, listed in every project you open. When you pick one in a project, it is added to that project, so everyone in it sees your text in that font. Only people who can edit a project can add fonts to it. In an agency team, Share with my team (or the Team switch on a font) lets your team's members use it too. Your library holds up to 500 fonts.
This font's licence allows web use (the Web use switch on a font) is for fonts whose licence lets them be served on the web. With it on, visitors of your public links see text in that font, and a React project export includes the font's files. With it off, visitors see a fallback font, and the React export names the font without its files (its README says so). Pictures, PDF and video exports always use your font. Set it only when the font's licence allows web use.
Missing fonts: when a text uses a font the board doesn't have (deleted, no longer shared, from an imported file, or a font on someone else's computer), it shows in a fallback font, and editors get a notice with Replace to pick another font for every text that uses it.
Exports with a font on this computer: pictures and PDFs you export draw it as your browser does, so they use it when it is installed on your computer; a PDF holds that text as a picture rather than selectable text. Video exports and pictures made on Raelume's servers use a fallback font, and code names the font without a file. Upload the font to get it everywhere.
Report a font: if an uploaded font infringes your rights, email [email protected] with the link to the project or page that shows it and the font's name. When Raelume removes a font after a report, every copy of that file is removed, text set in it shows a fallback font, and its owners are told in their notifications.
Vectors
Shapes, pen paths and text are vectors, so they stay sharp at any size.
- Combine shapes with Union, Subtract, Intersect and Exclude.
- Flatten (Alt+Shift+F on Windows (⌥⇧F on Mac)) turns the selection into one path, and Outline stroke (Ctrl+Alt+O on Windows (⌥⌘O on Mac)) turns a stroke into a shape.
- Shape builder (M on Windows (M on Mac)): select overlapping shapes, then drag across the regions they make to merge them into one shape (it takes the look of the shape you started on), hold ⌥ (Alt on Windows) while you drag to remove them, or click a region to make it a shape of its own. The rest of each shape stays as it was. Press M on Windows (M on Mac) or Esc on Windows (Esc on Mac) to put it down.
- Use as mask (Ctrl+Alt+M on Windows (⌃⌘M on Mac)) shows the layers above a shape only inside it.
- Paste or drop SVG, for example from Figma or Illustrator, and it becomes layers you can edit.