Board and layout
Resize with everything inside, set how you see the board, find layers, and lay frames out with auto layout, constraints and sections.
Keys on this page are shown for your computer, with the other platform's keys after them.
Scale: resize a frame with everything inside it
Scale (K on Windows (K on Mac)) resizes the selection and scales its contents, everything inside it, with it: type, letter and paragraph spacing, strokes, corner radii, shadows and blurs, and auto layout gaps and padding. A plain resize with Move changes only the box, and the layers inside follow their constraints.
- Select a frame (or any layers).
- Press K on Windows (K on Mac) and drag a handle: the selection and everything in it scale with the drag.
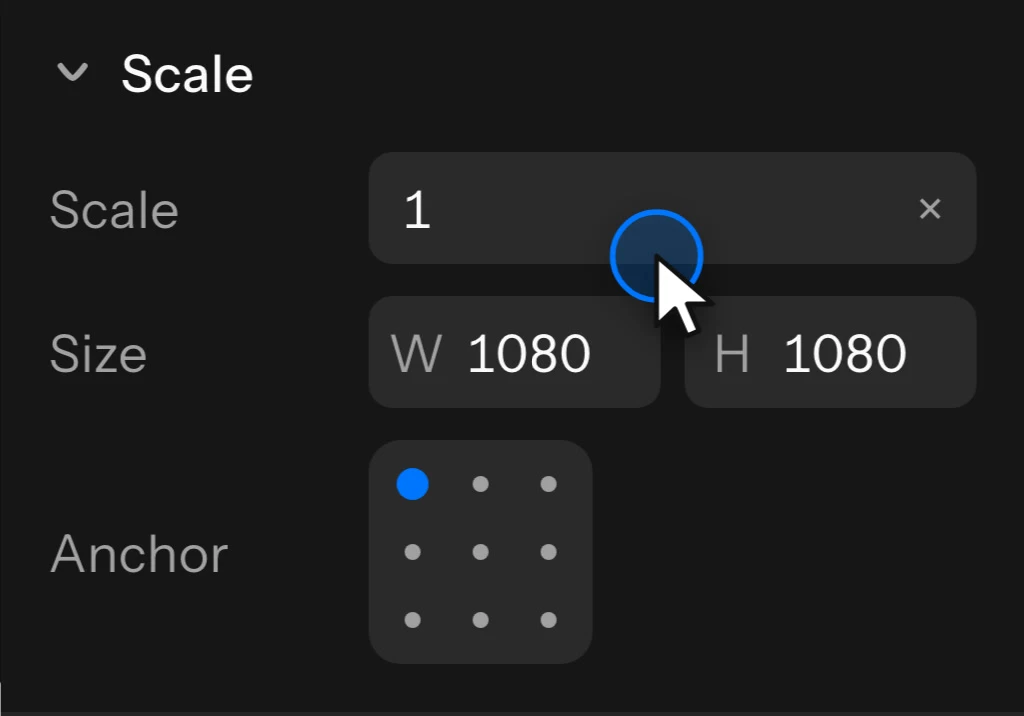
- Or type it in the inspector's Scale section, shown while the tool is on: a Scale factor (2 doubles, 0.5 halves), a width or a height, and an Anchor, the point that stays where it is.
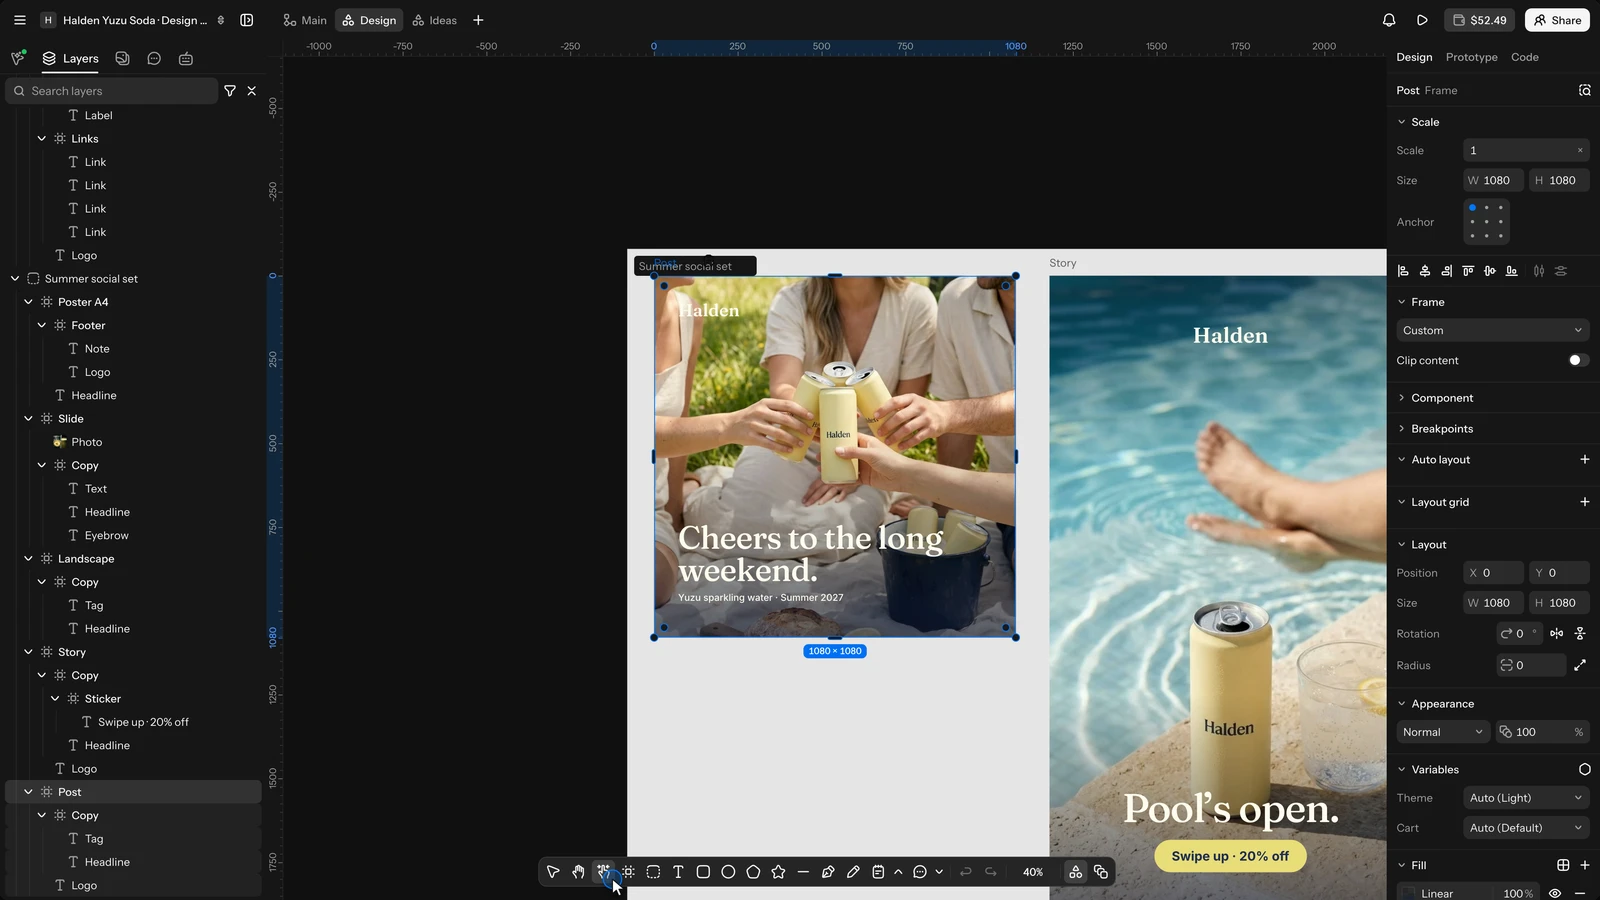
To scale for one drag without switching tools, hold K on Windows (K on Mac) while you resize with Move.
View options and snapping
The zoom menu also holds how you see the board and how what you move lands. Your choices apply on every board, on every device.
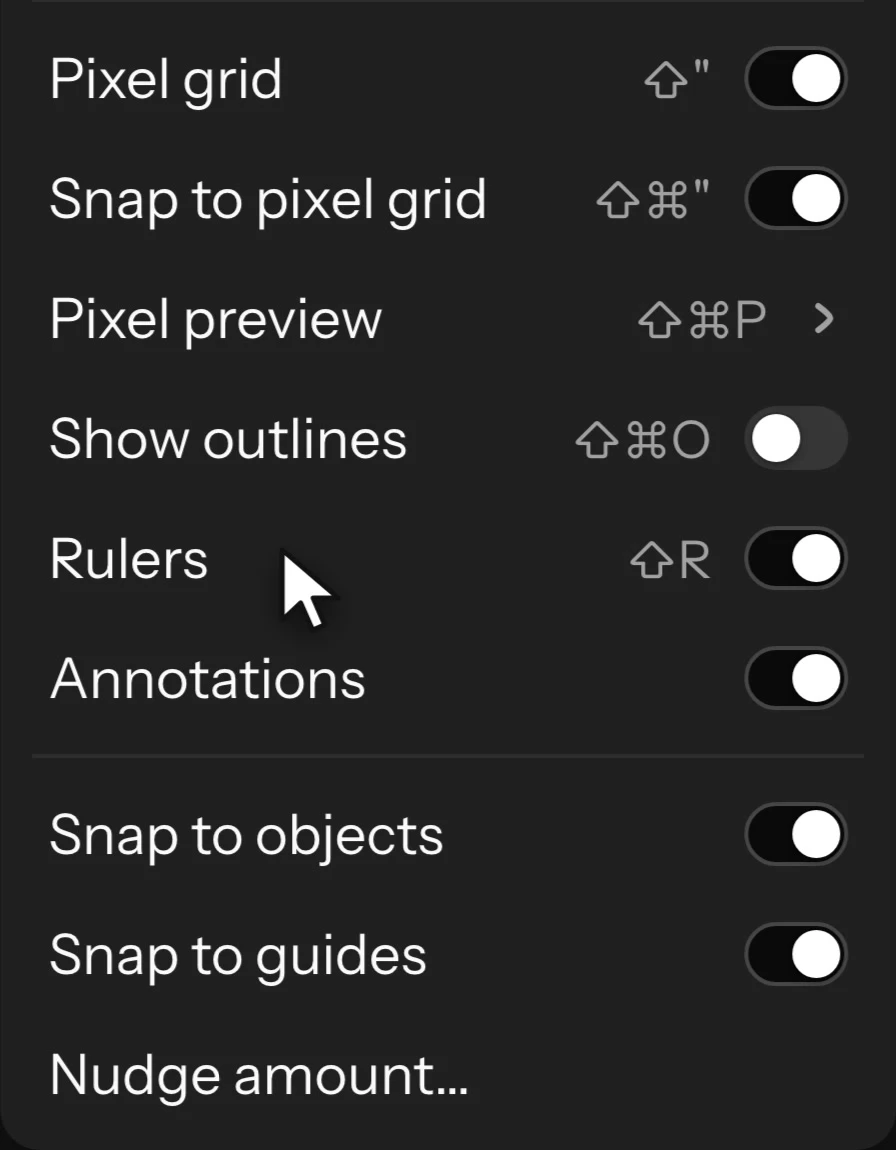
- Rulers (Shift+R on Windows (⇧R on Mac)) run along the board's top and left. Drag from a ruler to add a guide, drag a guide to move it, or drag it back onto a ruler to remove it. Click a guide to pick it: the arrow keys move it and Delete removes it. Guides are saved with the board, so everyone on it sees them; they are never exported.
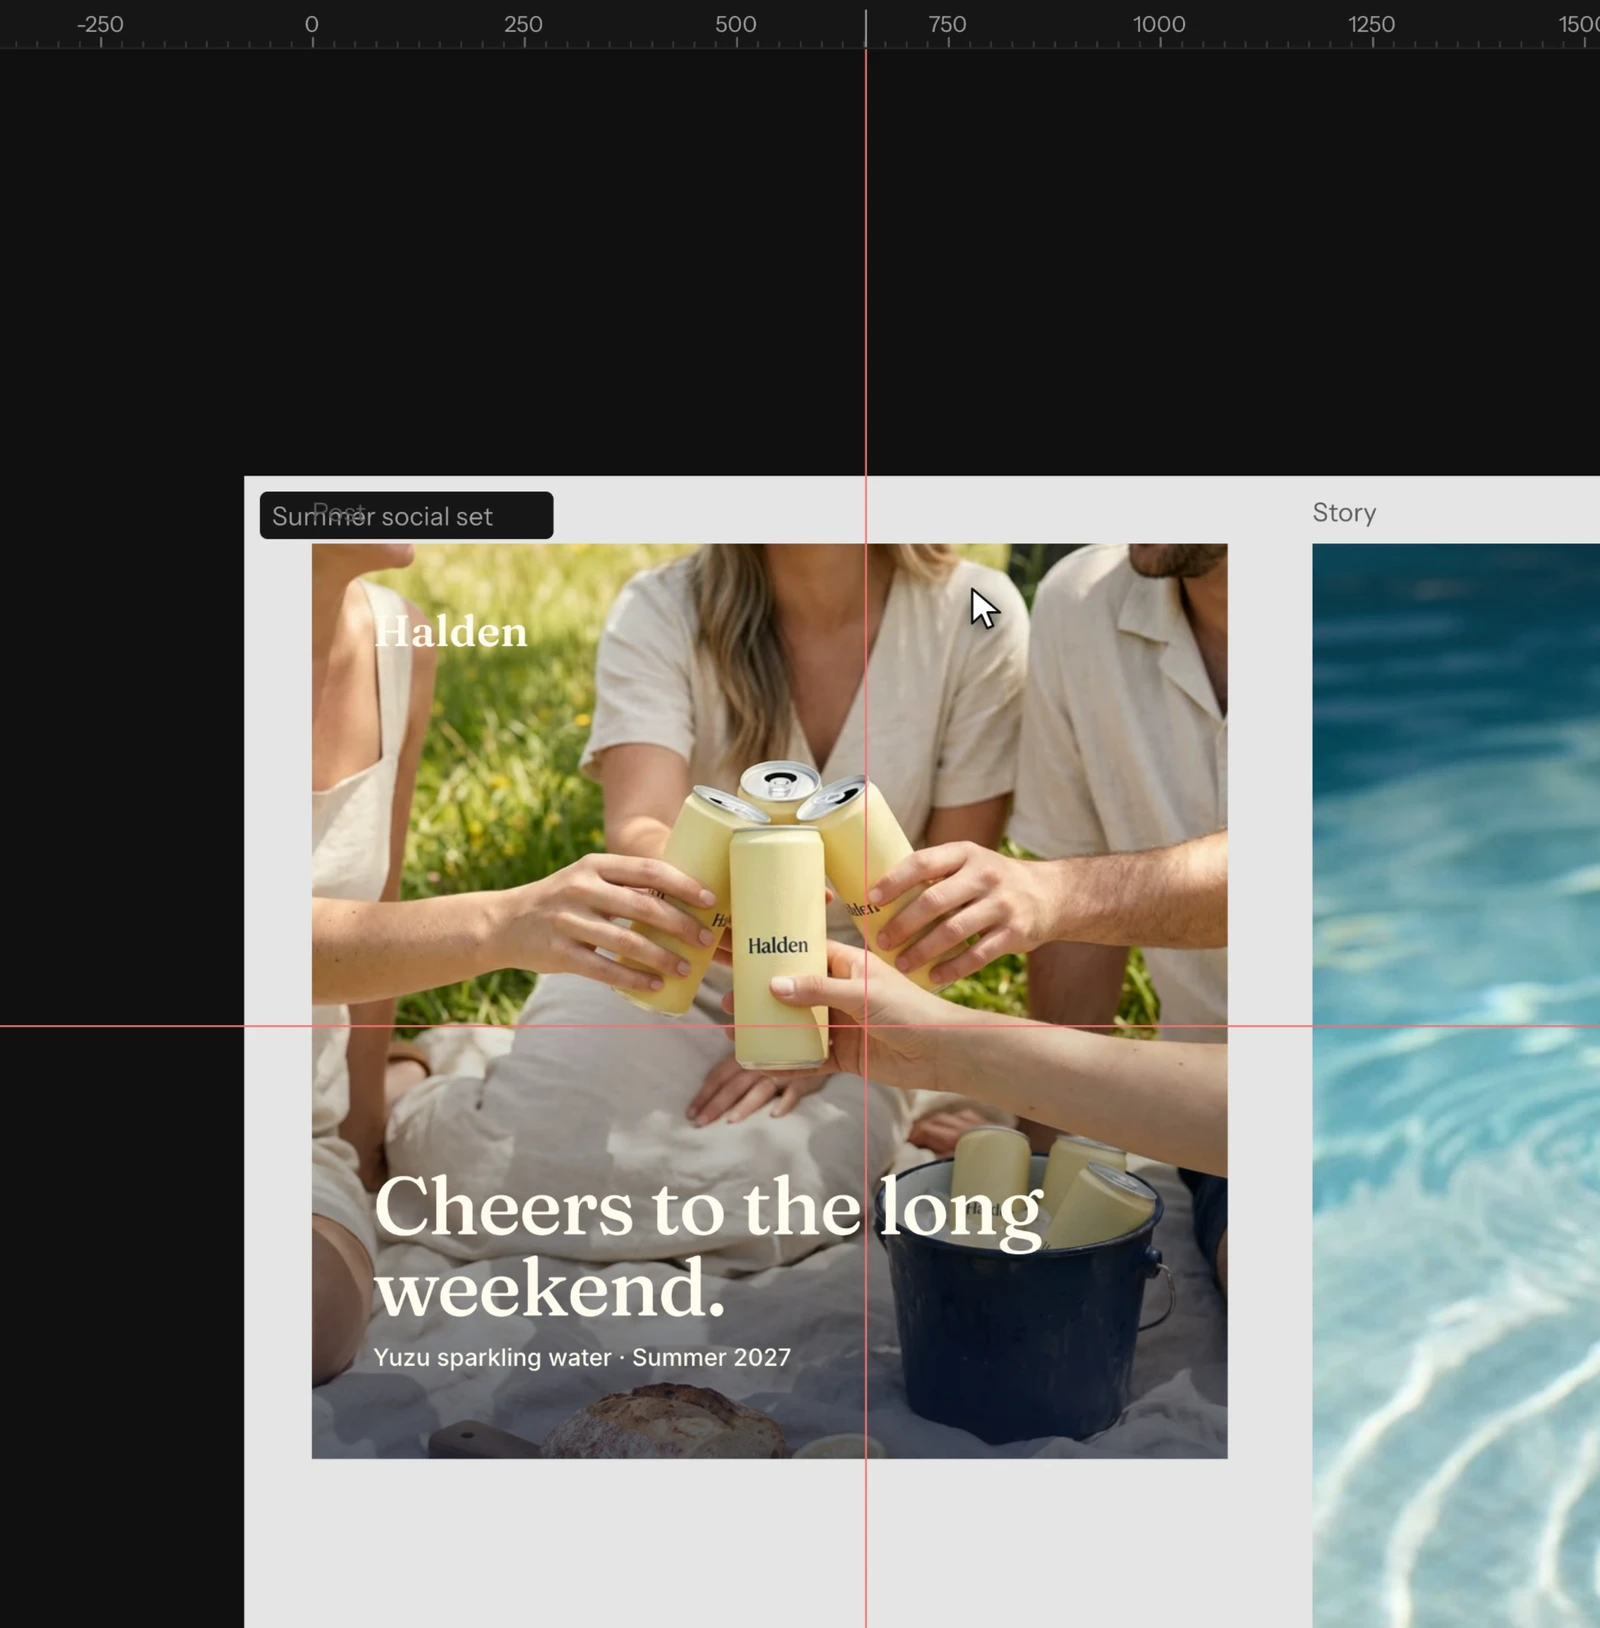
- Show outlines (Ctrl+Shift+O on Windows (⇧⌘O on Mac)) draws every layer as a thin outline, without fills, effects or clipping, so you can find layers hidden under others.
- Pixel grid (Shift+" on Windows (⇧" on Mac)) shows the lines between pixels once you zoom in far enough to see them.
- Pixel preview (Ctrl+Shift+P on Windows (⇧⌘P on Mac)) shows the board as the pixels an export at 1x or 2x has, once you zoom in past it.
- Snap to pixel grid (Ctrl+Shift+" on Windows (⇧⌘" on Mac)), Snap to objects and Snap to guides decide what moving, resizing and drawing lines up with. Frames and sections always land on whole pixels. Hold ⌘ (Ctrl on Windows) while you drag to move freely.
- Nudge amount sets how far the arrow keys move what you select, and how far Shift and an arrow move it.
Press Ctrl+\ on Windows (⌘\ on Mac) to hide the toolbar, the panels and the top bar so the board fills the window, and again to show them. Ctrl+Shift+| on Windows (⇧⌘| on Mac) collapses or opens the sidebar.
Layers and the inspector
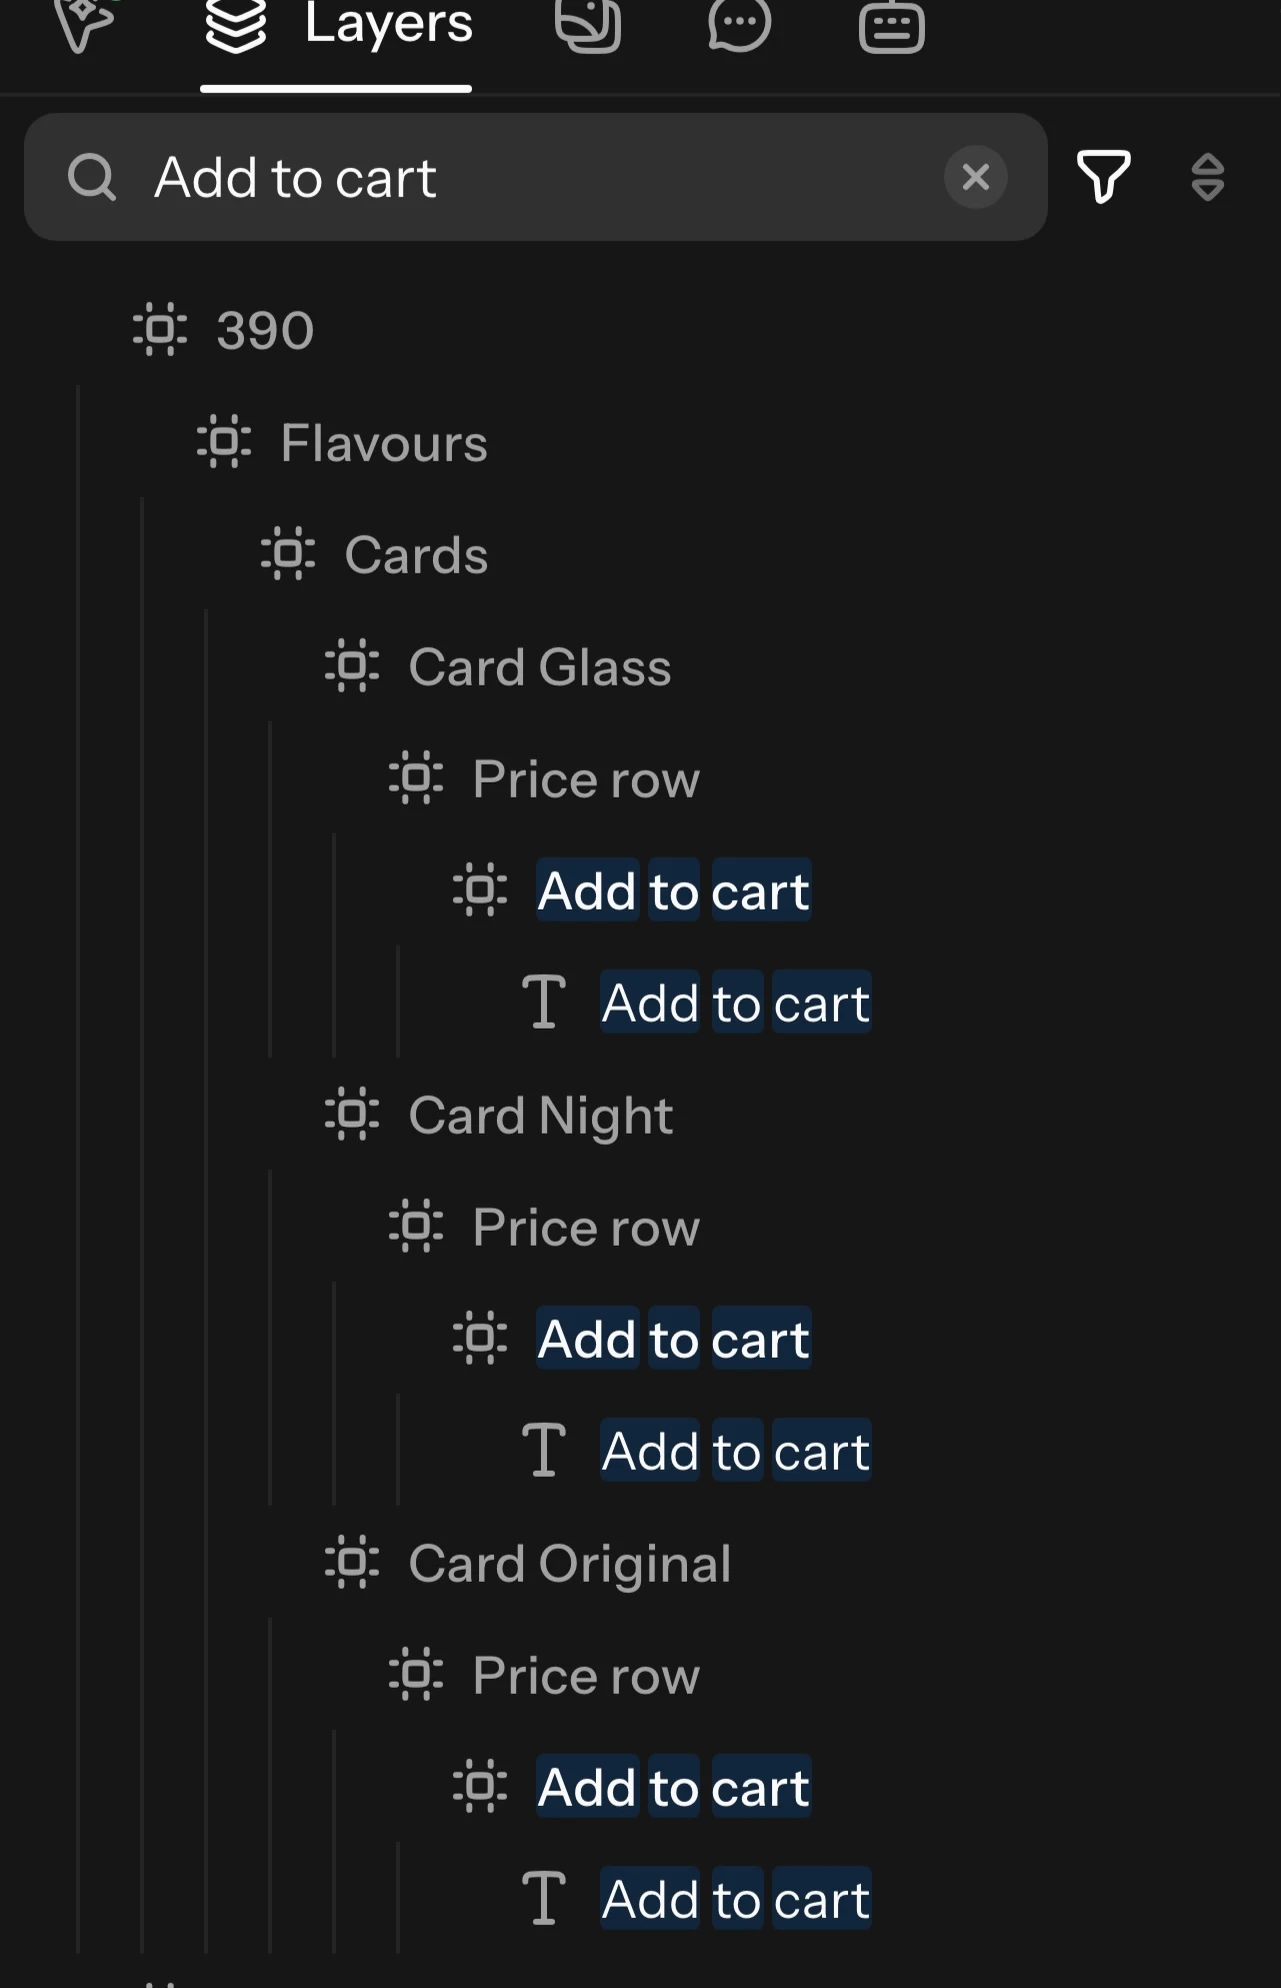
Open Layers in the sidebar to see and reorder everything on the board. Search at its top finds layers by name, and the filter beside it narrows them to kinds (frames, components, instances, text, images and more). Results show inside the frames they are in, with the words found marked: the arrow keys move through them, Enter selects one and ⌘Enter selects them all. Collapse all layers (Alt+L on Windows (⌥L on Mac)) folds every frame, group and section, and Expand all layers opens them again; what you fold is yours, and selecting a layer on the board opens its way in Layers. A frame that picks a variable mode shows the mode beside its name.
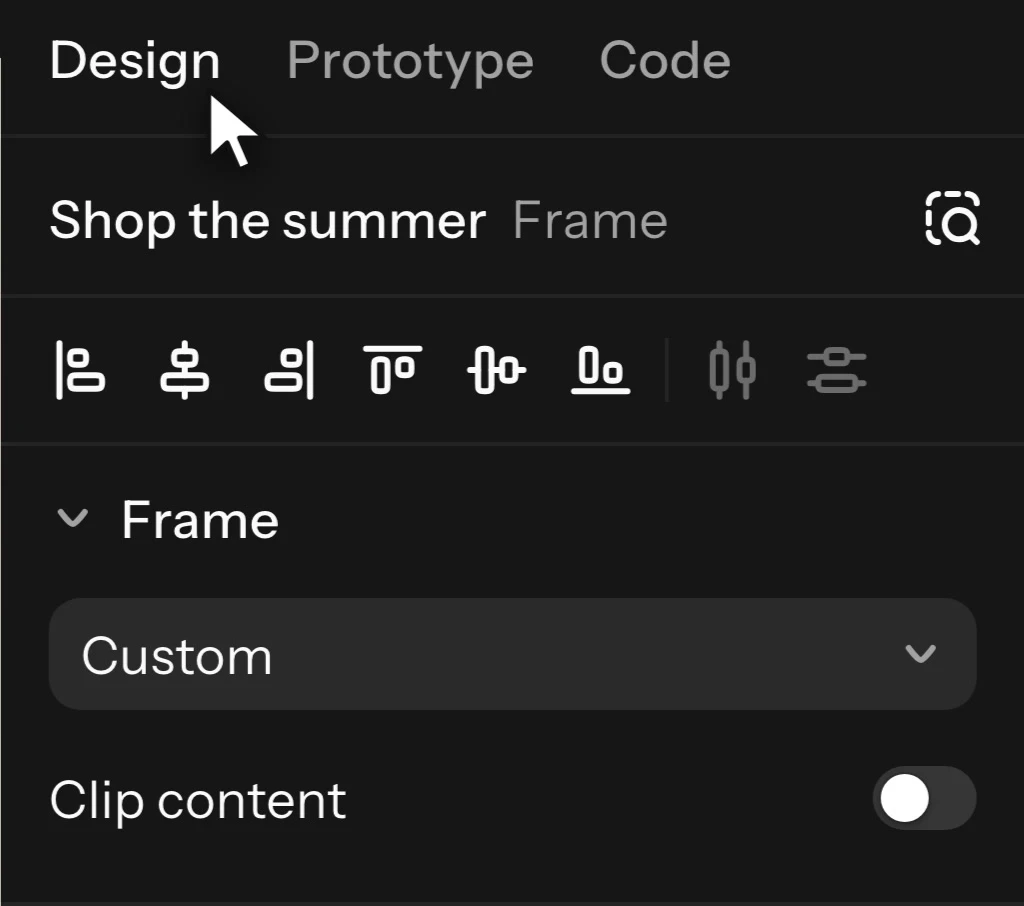
The right panel has three tabs: Design (the selection's look), Prototype and Code. On the Design tab the inspector shows the selection's settings: frame, auto layout, layout grid, position and constraints, appearance, text, fill, stroke, effects, variables and export. With nothing selected it shows the board, its styles, its variables and export.
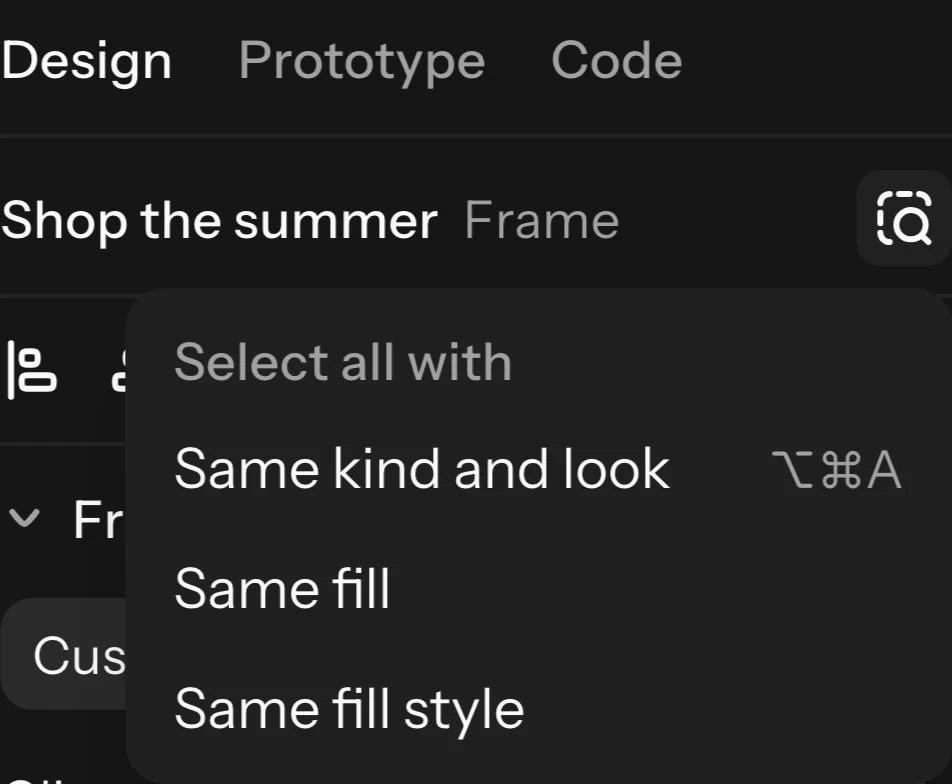
- Align and distribute several layers, or use Select all with (right-click, or the inspector) to pick every layer of the same kind and look (Ctrl+Alt+A on Windows (⌥⌘A on Mac)), or with the same fill, stroke, effects, font, shared style, component or variables.
- Layout grid adds columns, rows or a grid to a frame as a guide.
- Copy properties (Ctrl+Alt+C on Windows (⌥⌘C on Mac)) and Paste properties (Ctrl+Alt+V on Windows (⌥⌘V on Mac)) carry one layer's look to others.
Auto layout
Auto layout arranges a frame's content in a row, a column or a grid, and keeps it arranged as the content changes. Select a frame or layers and press Shift+A on Windows (⇧A on Mac) (Add auto layout), or use the inspector's Auto layout section. Remove auto layout (Alt+Shift+A on Windows (⌥⇧A on Mac)) keeps the layers where they are.
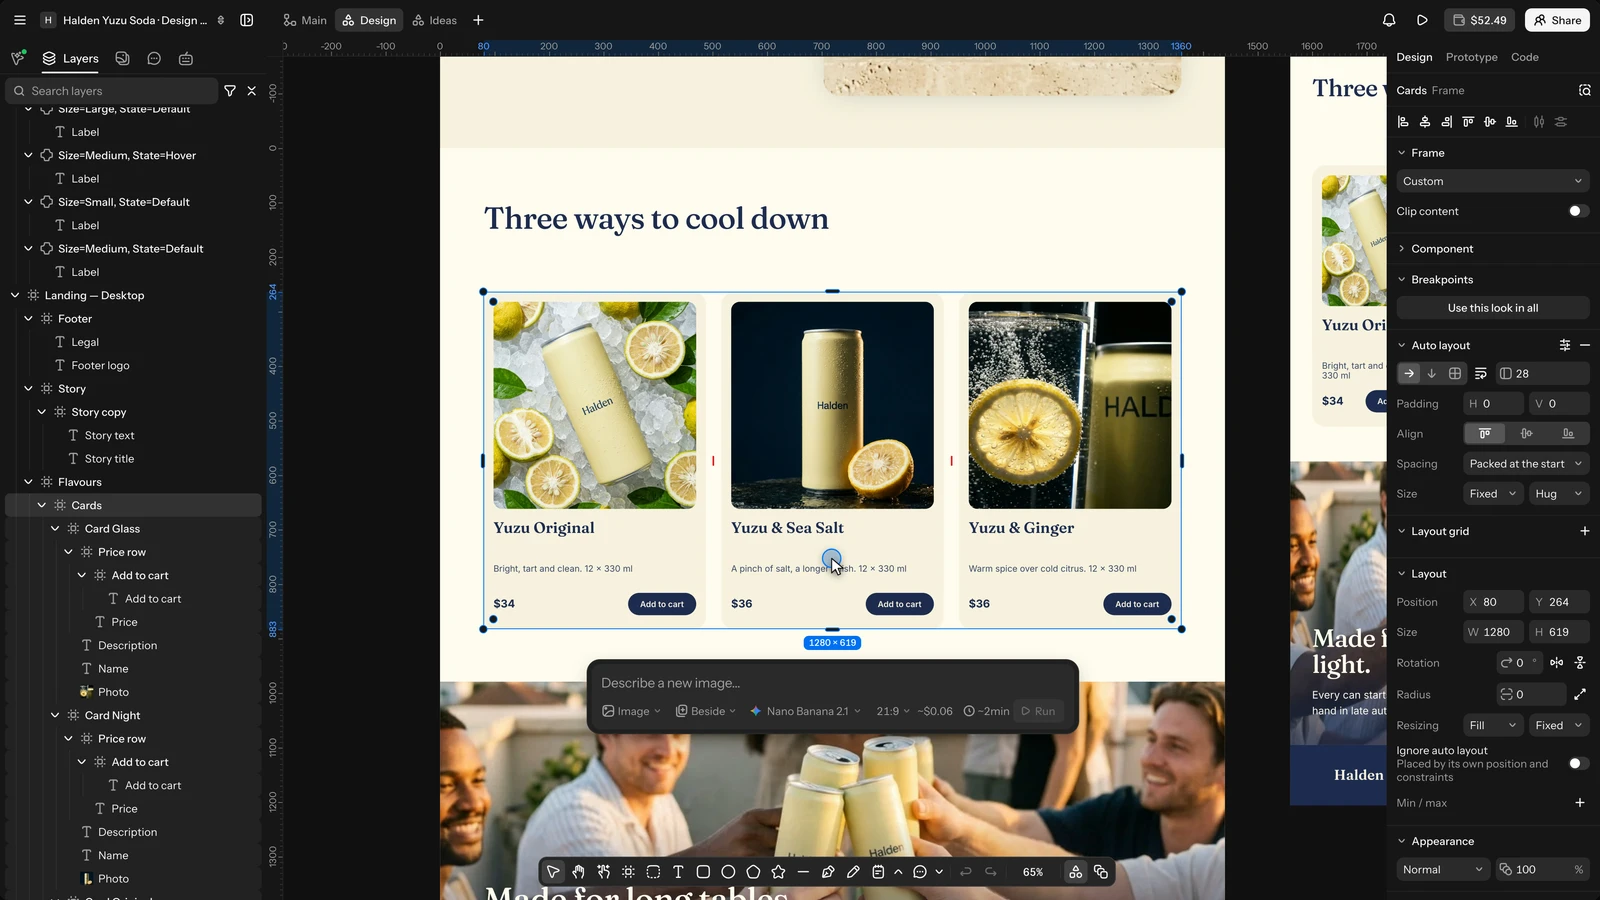
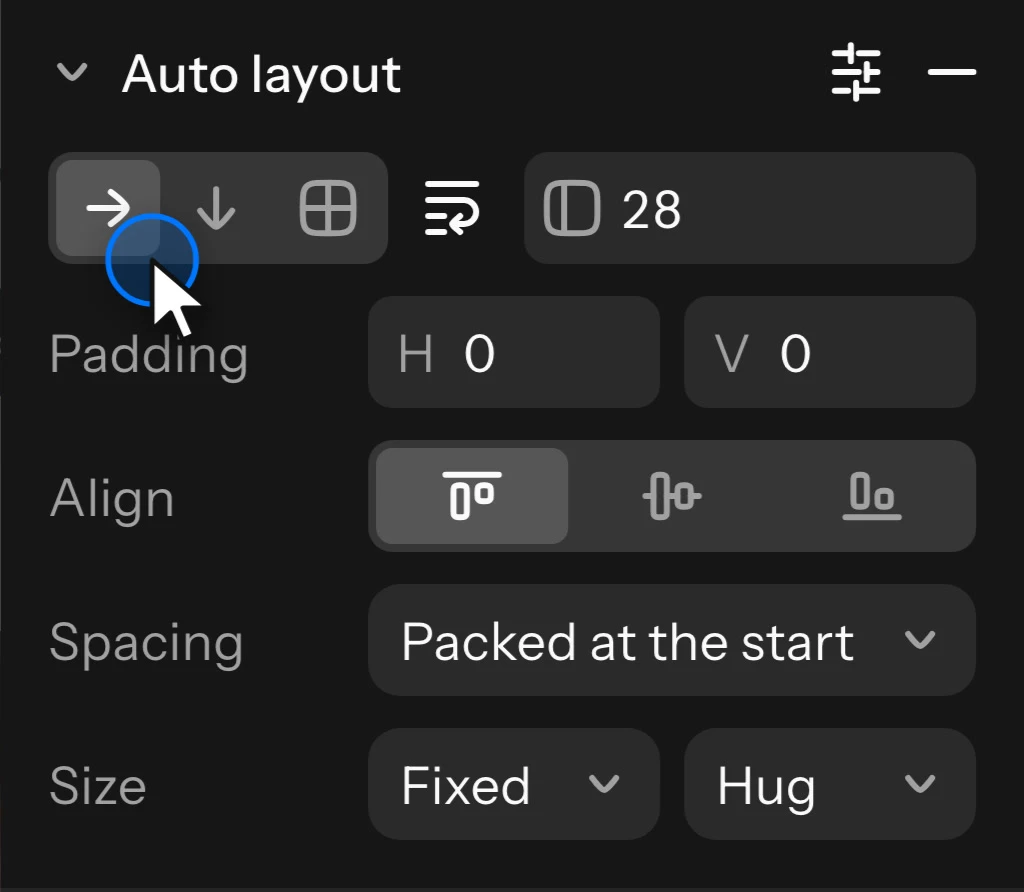
- Set the direction (In a row, In a column or In a grid), the Gap, the padding and the alignment. A row or column can Wrap onto new lines, and Spacing along can spread the space left over (space between, evenly or around).
- A grid's columns and rows are fixed, fill a share of the space, or hug their content; a layer can Span several cells.
- The frame's Width and Height are Fixed or Hug their content, within a Min / max size. A layer inside is Fixed or Fills the space under Resizing.
- Ignore auto layout keeps a layer where you put it, placed by its own position and constraints.
- Auto layout settings: Align text baselines, Strokes included in layout, and Canvas stacking (whether the first or the last layer is drawn on top).
Resizing a hugging frame by hand turns off hug on that side.
Constraints: how layers respond when a frame resizes
Constraints decide how a layer inside a frame moves and resizes when the frame is resized. Select the layer and set its constraints in the inspector's Layout section: Horizontal and Vertical.
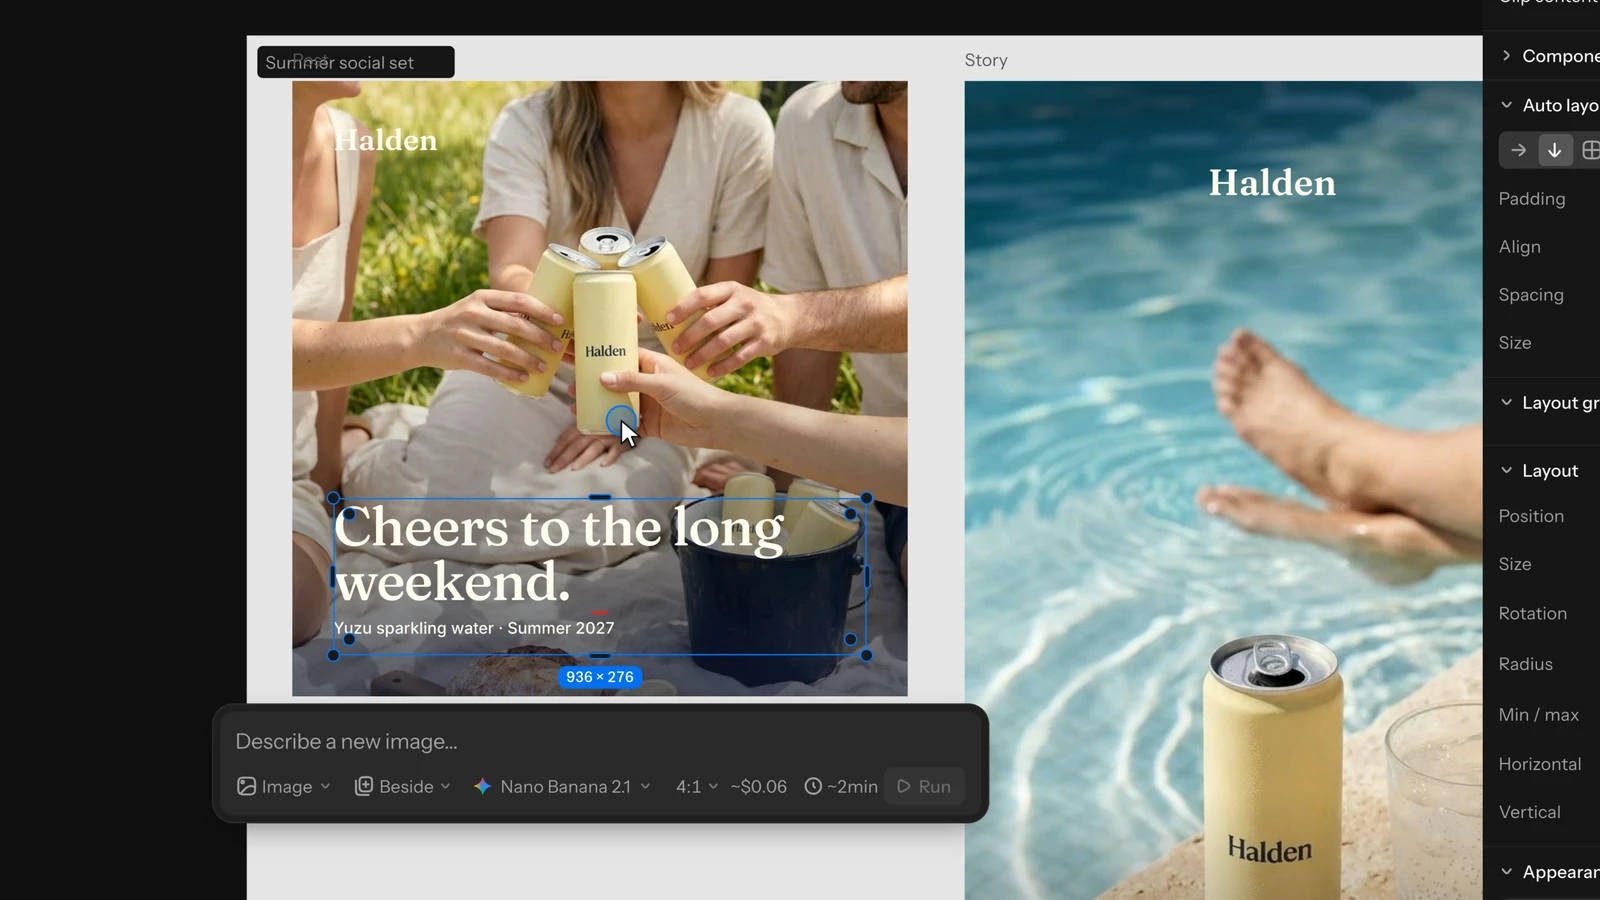
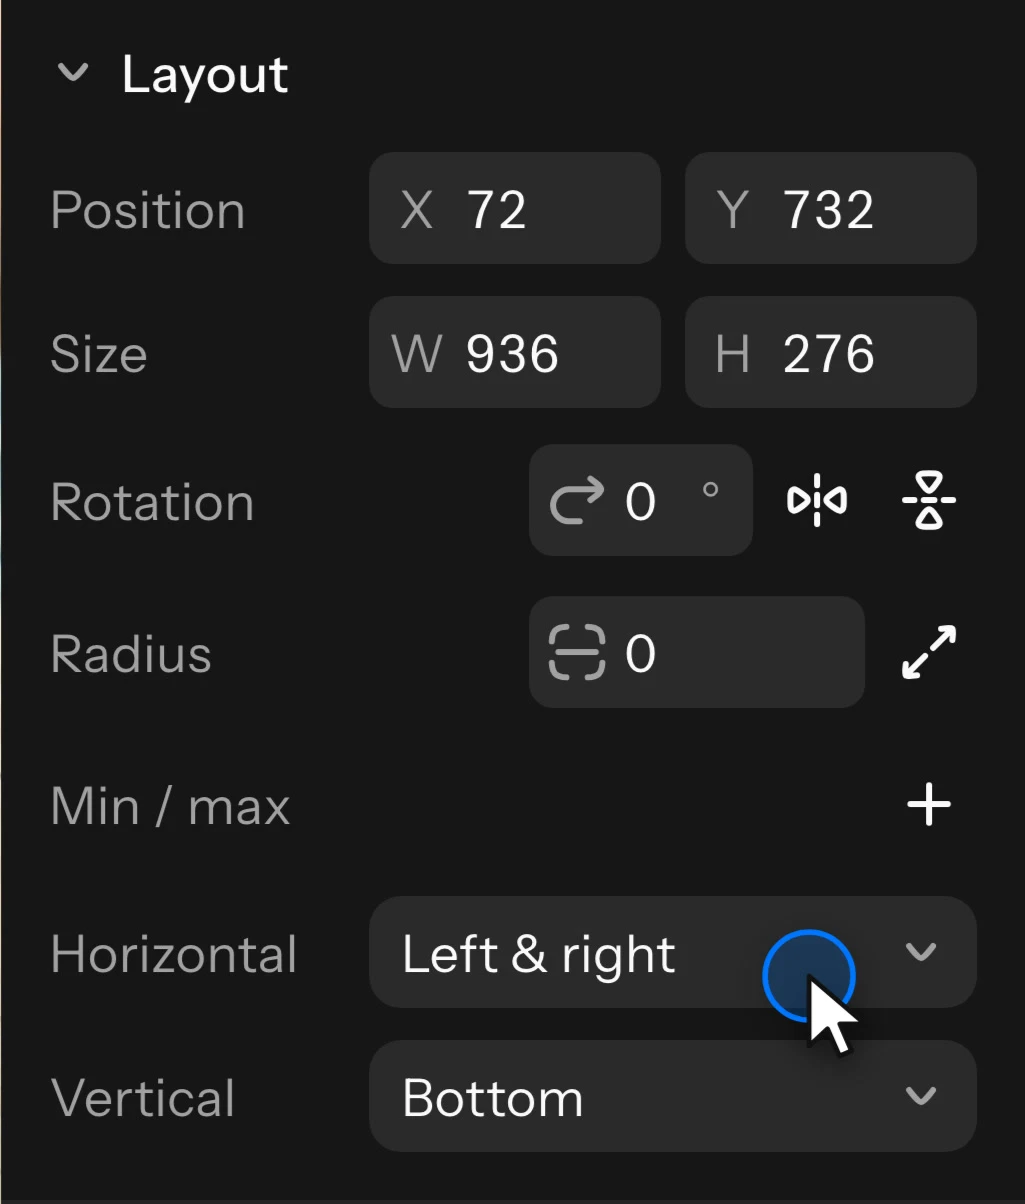
- Left or Top (the default): keeps its distance from that edge and its size.
- Right or Bottom: keeps its distance from that edge.
- Left & right or Top & bottom: keeps both distances and stretches.
- Centre: stays centred.
- Scale: its position and size grow and shrink with the frame.
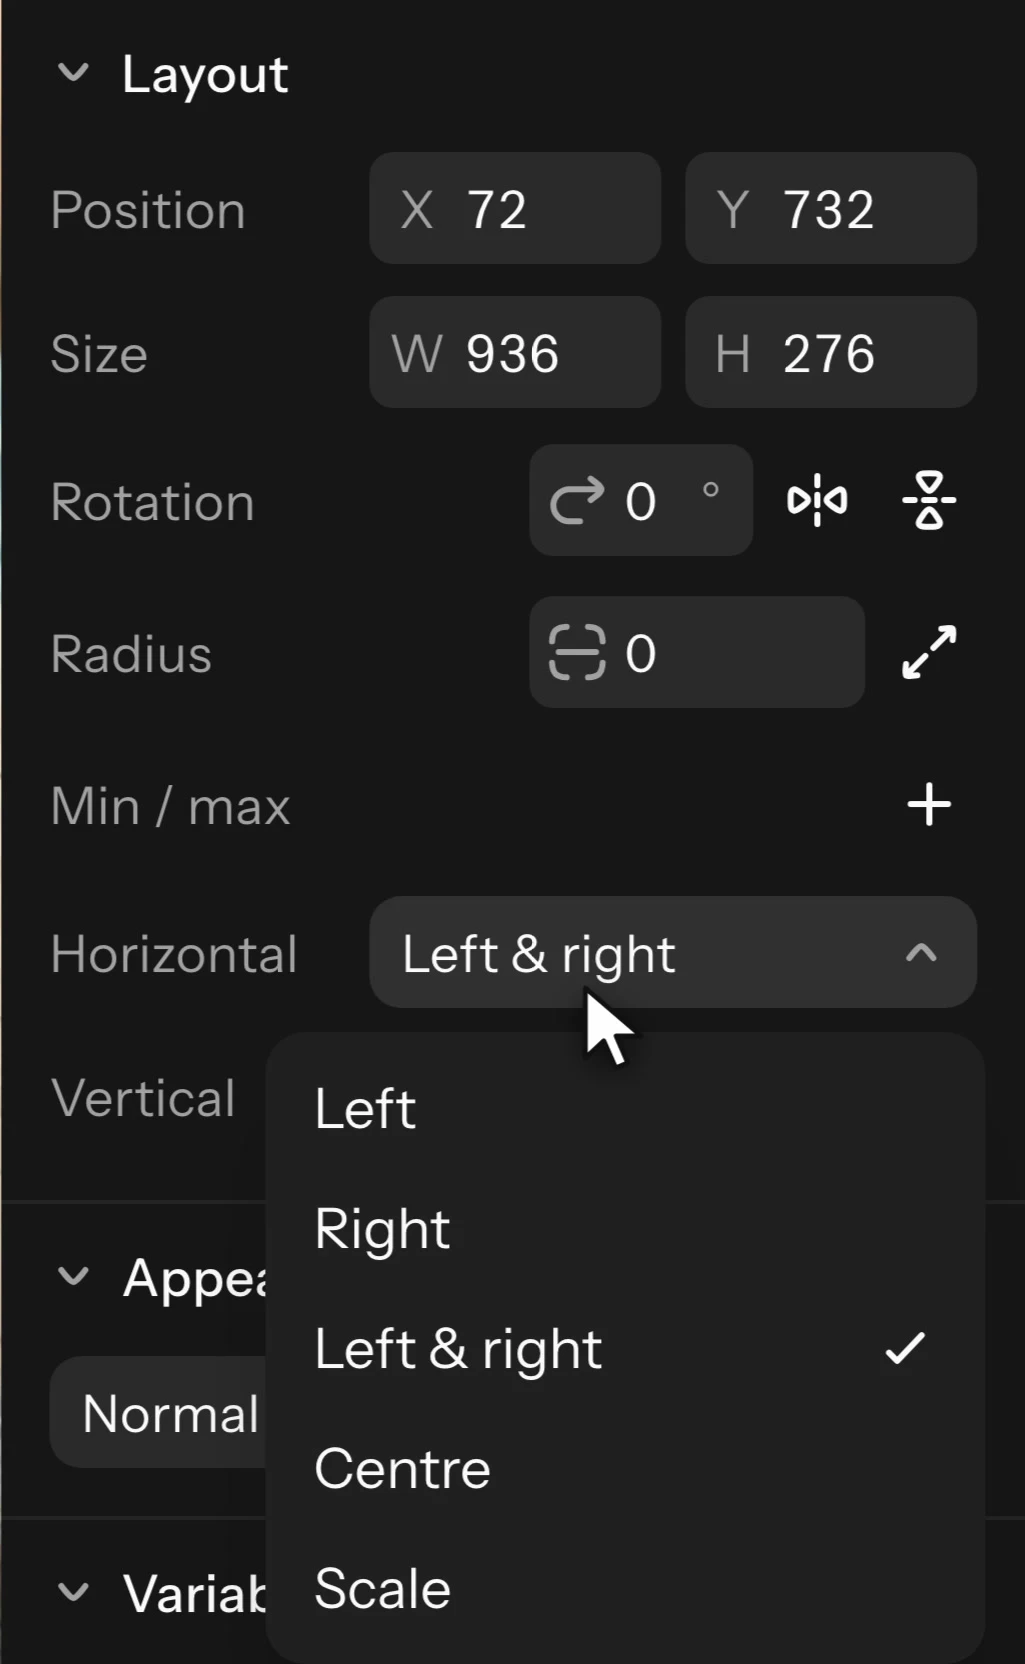
Constraints apply when you drag a frame's handles or type its width or height, frames inside frames included. They do not apply to layers that flow in an auto layout (those have Resizing instead), unless the layer has Ignore auto layout on. An instance sized differently from its component, and each width of a page with breakpoints, place their layers by the same constraints. The Code tab, the React export and Preview write them as CSS, so a page reflows the same way at other widths. To scale everything inside instead, use Scale.
Sections
Sections organise frames on the board. Draw one with Section (Shift+S on Windows (⇧S on Mac)), or select frames and choose Wrap in new section (Ctrl+Alt+S on Windows (⌥⌘S on Mac)). Moving a section moves what is in it; drop a frame in or out to add or remove it. Resize to fit (Ctrl+Alt+Shift+R on Windows (⌥⇧⌘R on Mac)) fits a section or frame to its content, and Ctrl+Backspace on Windows (⌘⌫ on Mac) removes a section but keeps its content. Exporting the board exports every frame, those in sections too; a section exports itself only when you select it.