
Motion
Animate layers on a timeline with keyframes and easing, play the animation, and export it as video, GIF, Lottie or SVG.
Keys on this page are shown for your computer, with the other platform's keys after them.
Motion: animate layers on a timeline
Motion animates layers on a timeline: move, scale, turn, fade and resize them, and change their colours. Click Motion at the end of the toolbar to open the timeline under the board; Design closes it and shows the design at rest.
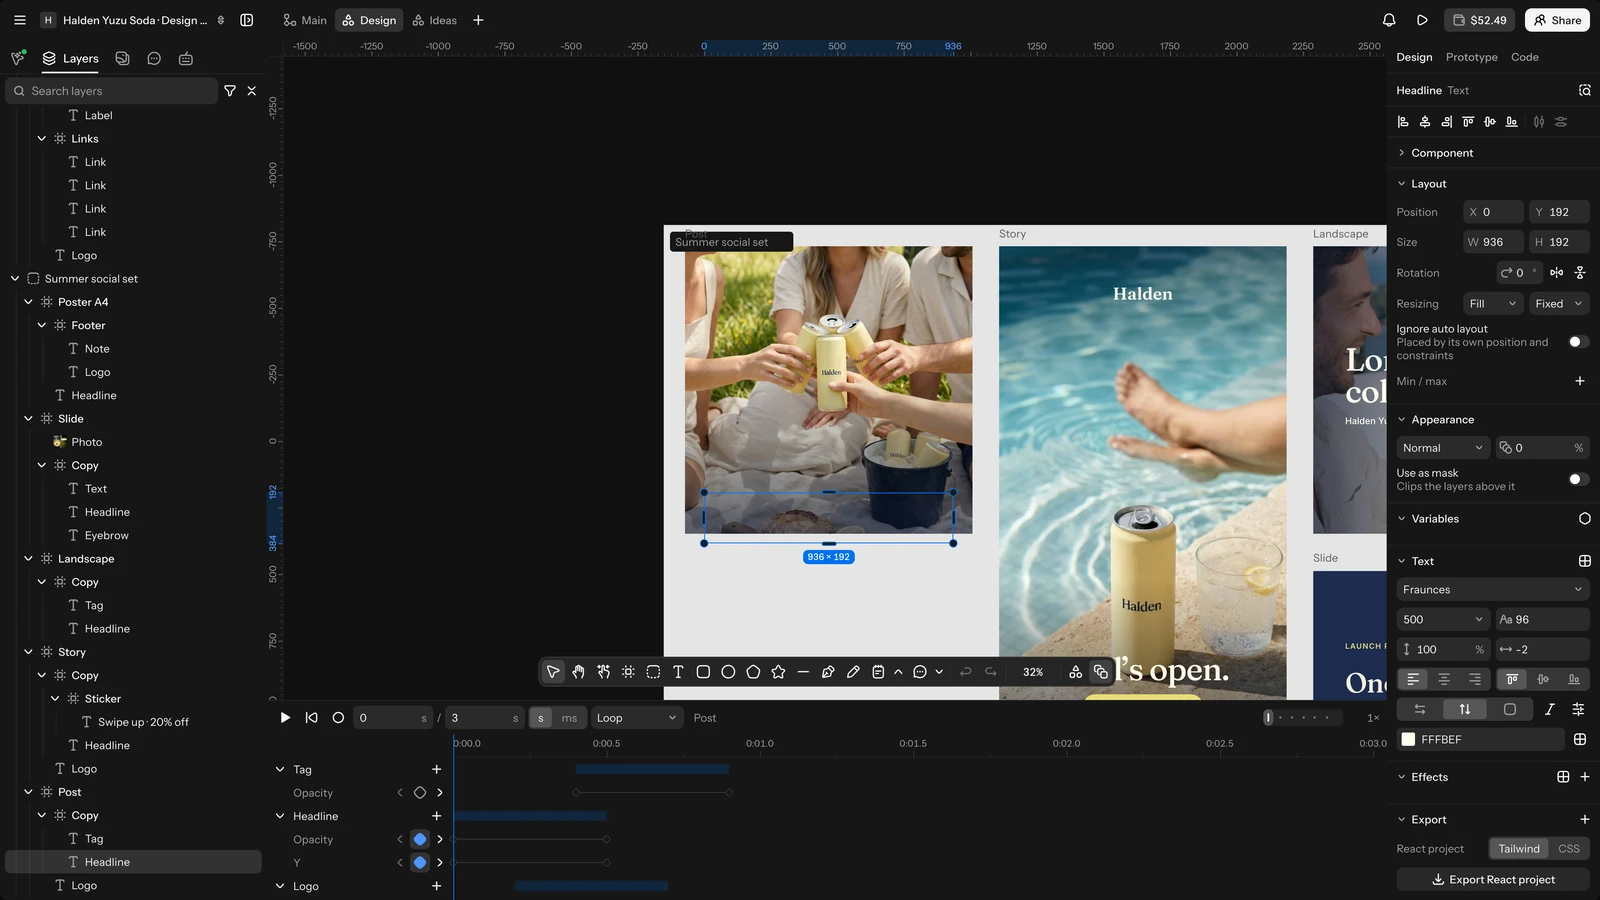
- Each top-level frame has its own timeline, with its own length and playback; layers outside frames use the board's. The timeline follows the frame of what you select.
- The timeline shows a track for each animated or selected layer. Click + on a track (Animate a property) to animate one of its properties: X, Y, Rotation, Scale, Width, Height, Opacity, fill and stroke colours, Corner radius, Stroke weight, Layer blur or Text colour.
- The bar above the tracks has Play, Go to start, auto-keyframe, the playhead and the Timeline length (0.1 s to 600 s), seconds or milliseconds, and Playback: Loop, Once or Ping-pong (there and back).
- Drag the timeline's top edge to make it taller.
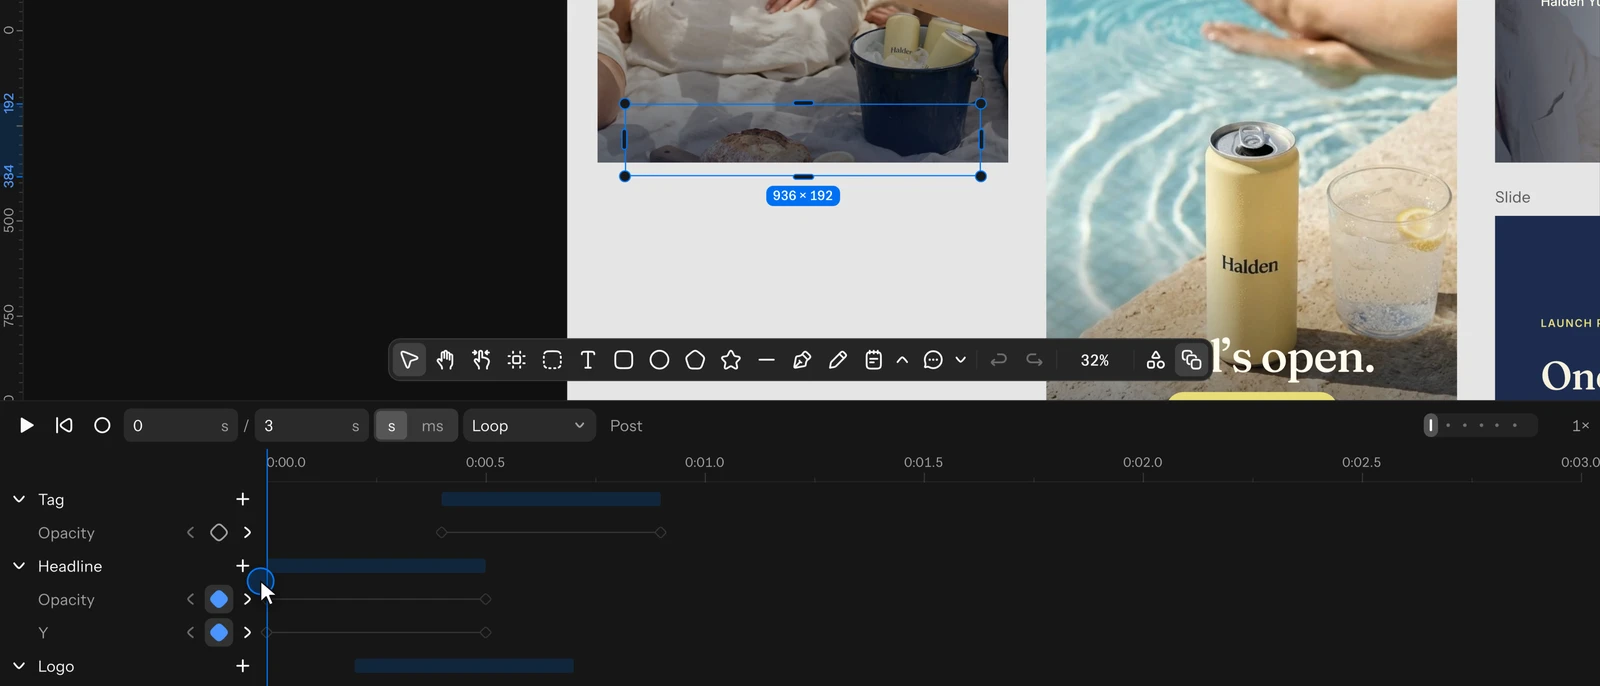
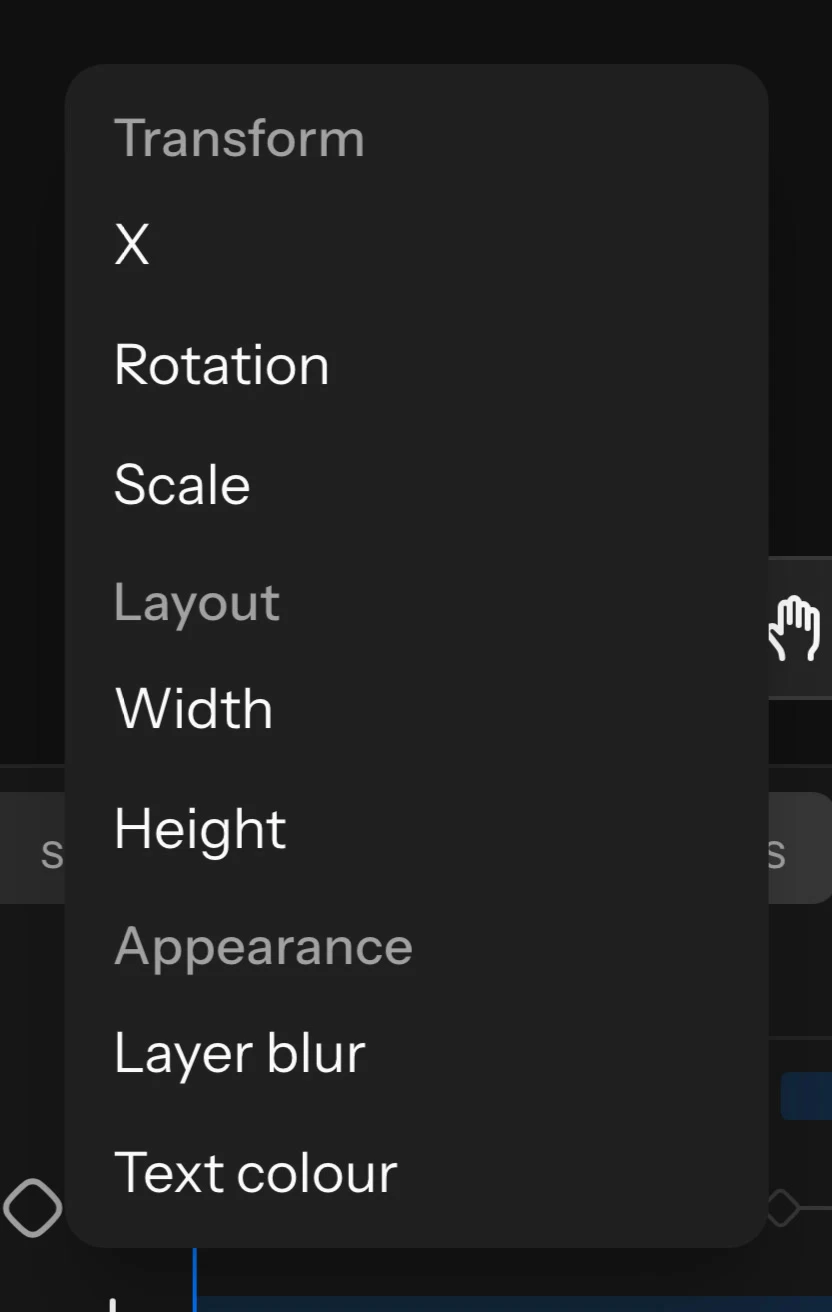
Quick ways in: right-click a layer and choose Add motion, or use Animate with AI in Actions (Ctrl+K on Windows (⌘K on Mac)).
Keyframes and easing
A keyframe holds a property's value at a time; the layer moves between keyframes.
- Add a keyframe: move the playhead, then click the diamond beside a property in the timeline.
- Change an animated layer: in Motion, changing a property that already animates, on the board or in the inspector, sets its keyframe at the playhead. In Design, the change moves the layer at rest, and its animation moves with it.
- Auto-keyframe: while on, every property you change gets a keyframe at the playhead, animated or not.
- Edit keyframes: click to select, Shift-click to add more, and drag to retime (they snap to the playhead, the start, the end and other keys). The arrow keys nudge them and Delete removes them. Drag a track's bar to move all of a layer's keys at once.
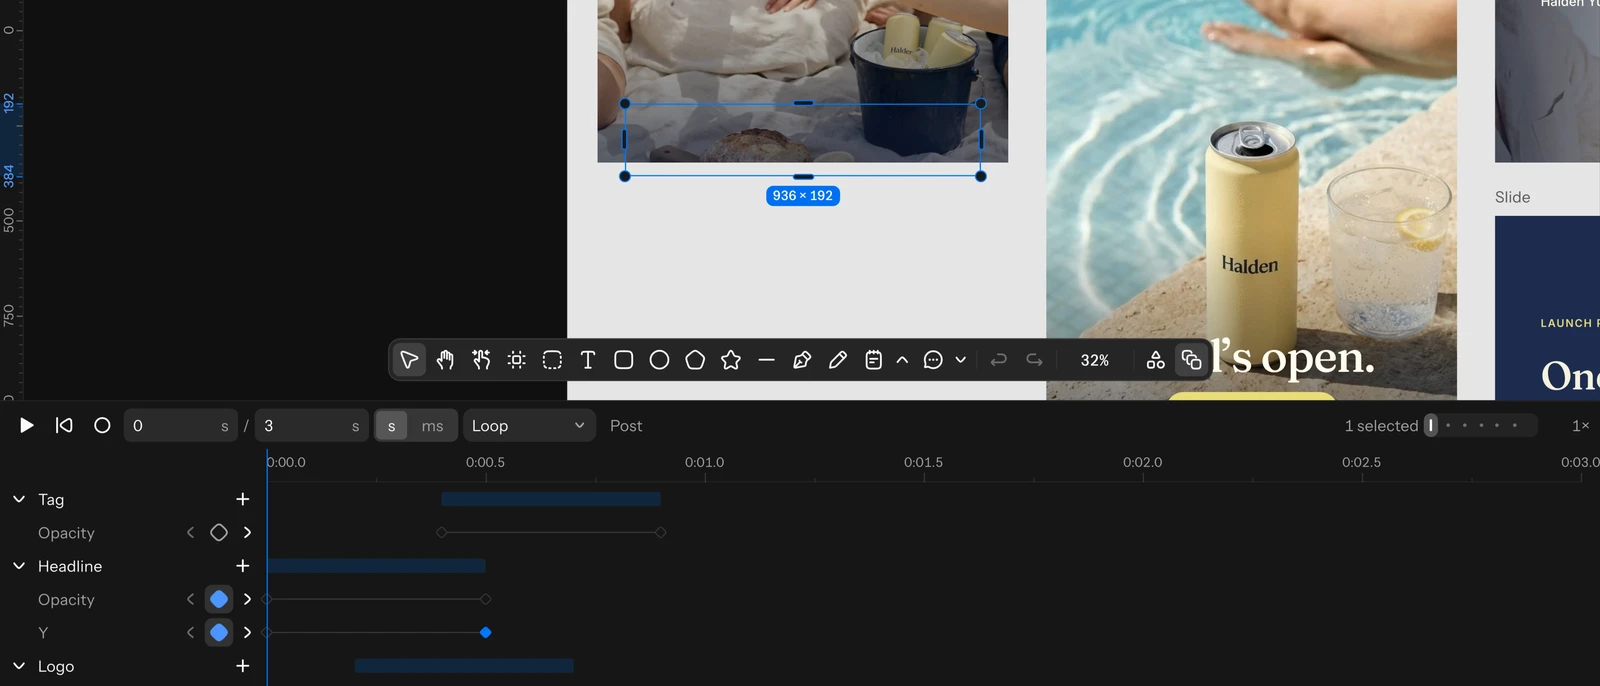
- Easing: click the line between two keys to pick how the layer moves to the next one: Curves (Linear, Ease in, Ease out, Ease in and out, back curves and Hold), Springs (Gentle, Quick, Bouncy, Slow), Custom bezier or Custom spring.
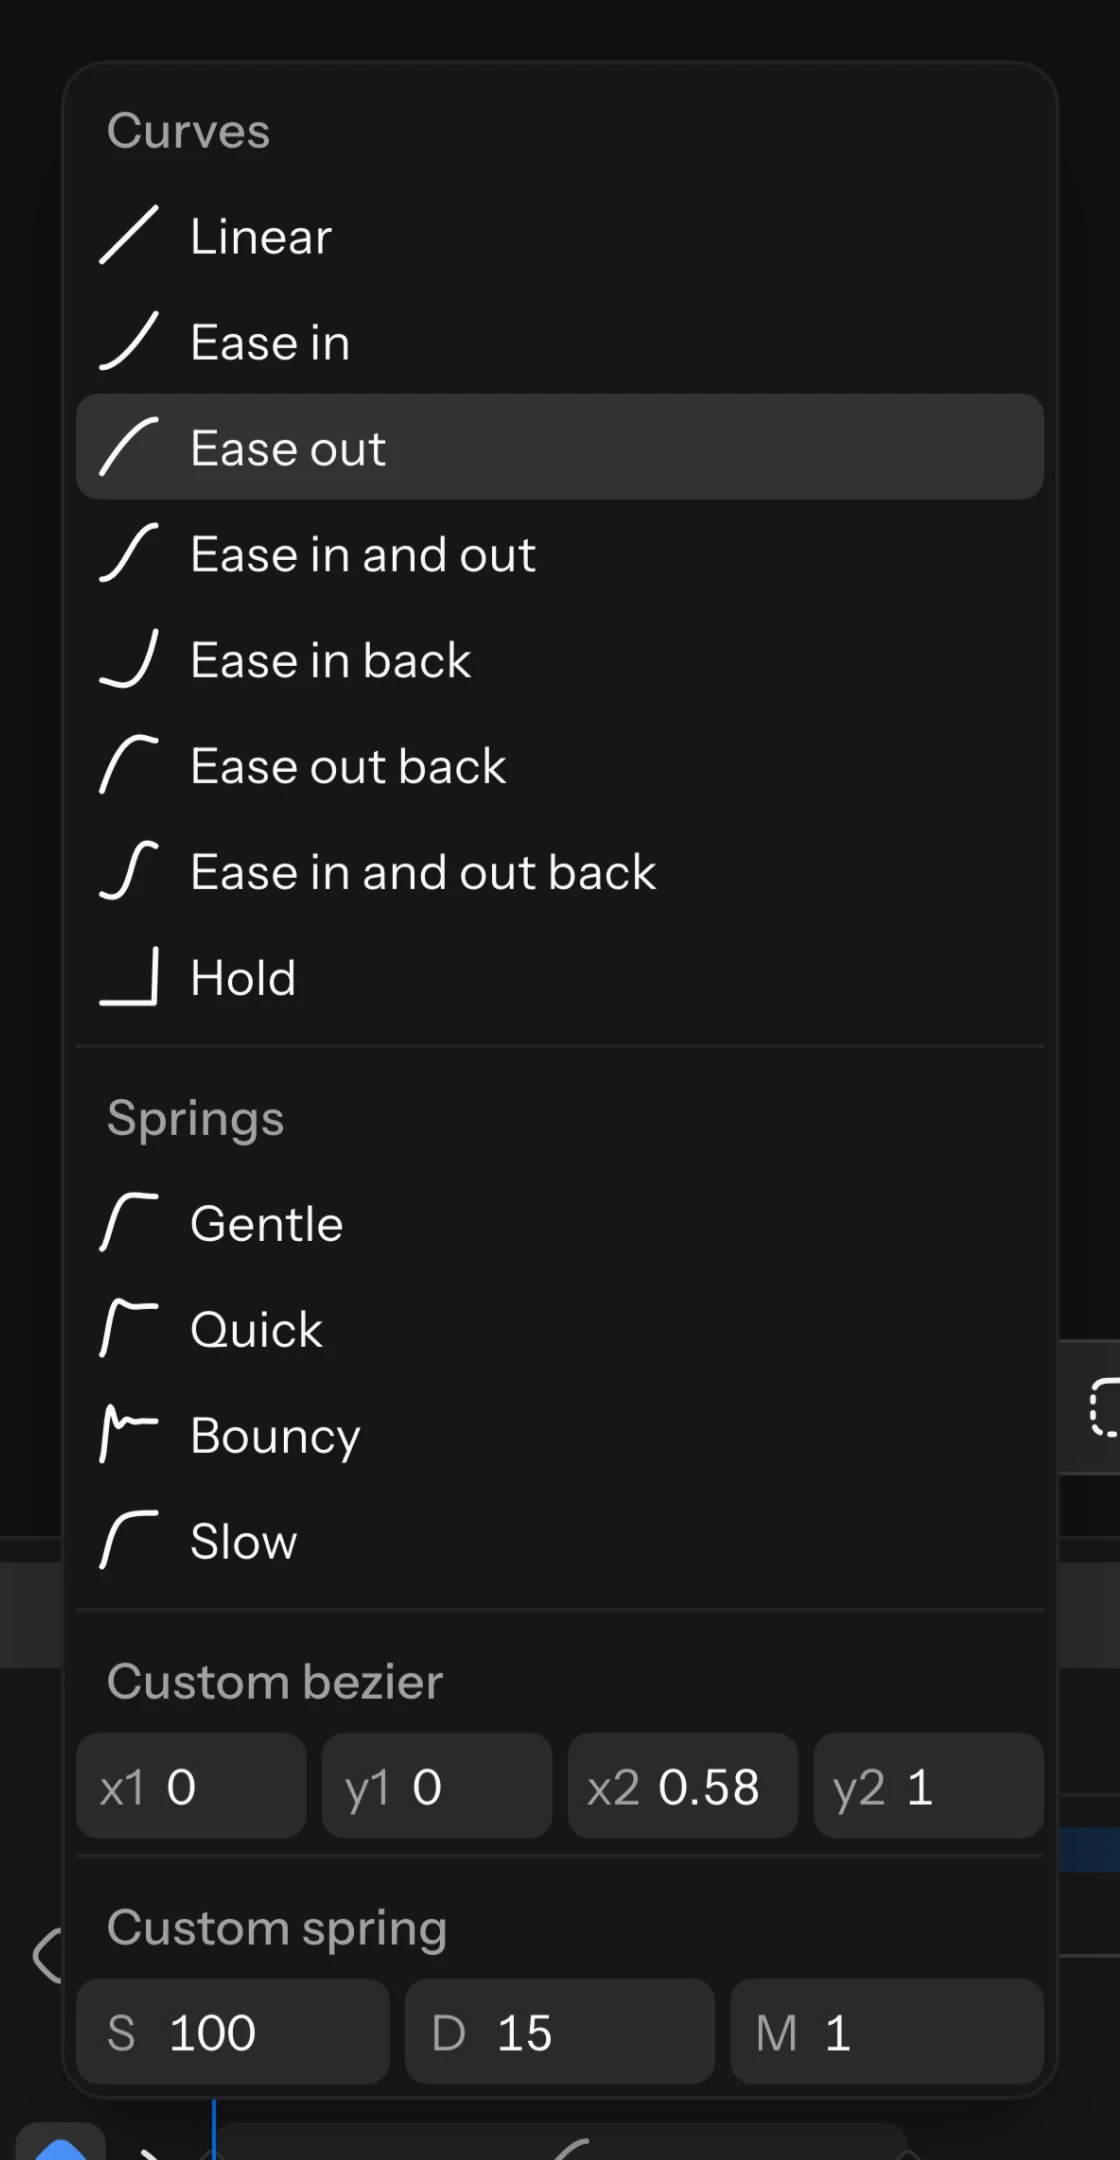
- Easing variables show at the top of the same menu: pick one to bind the line to it, and changing the variable changes every bound line. A Timing variable sets a frame's animation length: apply it to the frame's Animation length under Variables.
Motion presets and animation styles
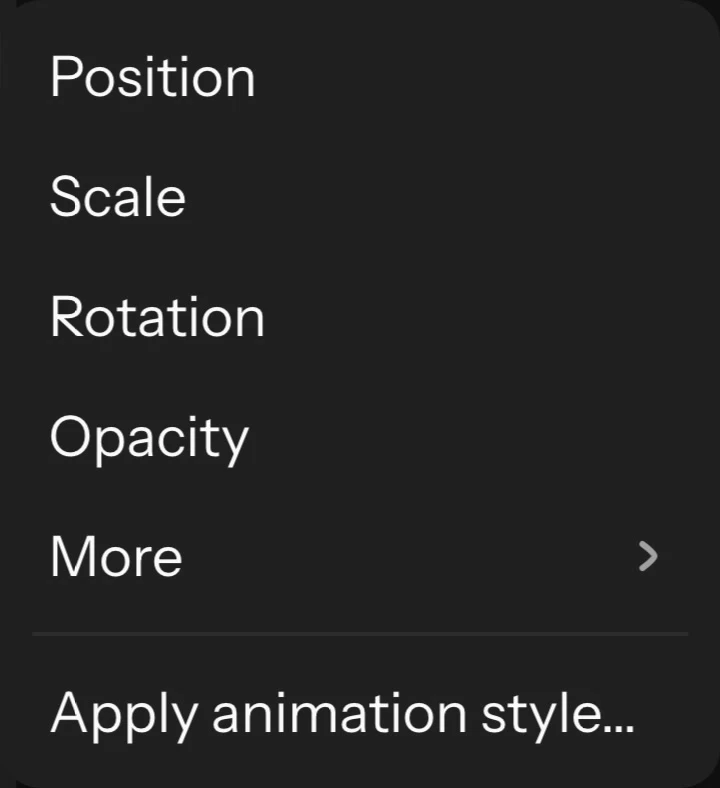
Add motion: select layers, right-click and choose Add motion, then Position, Scale, Rotation, Opacity or, under More, Size. The layer animates in over half a second from the playhead, ending where it is now. The timeline grows to fit.
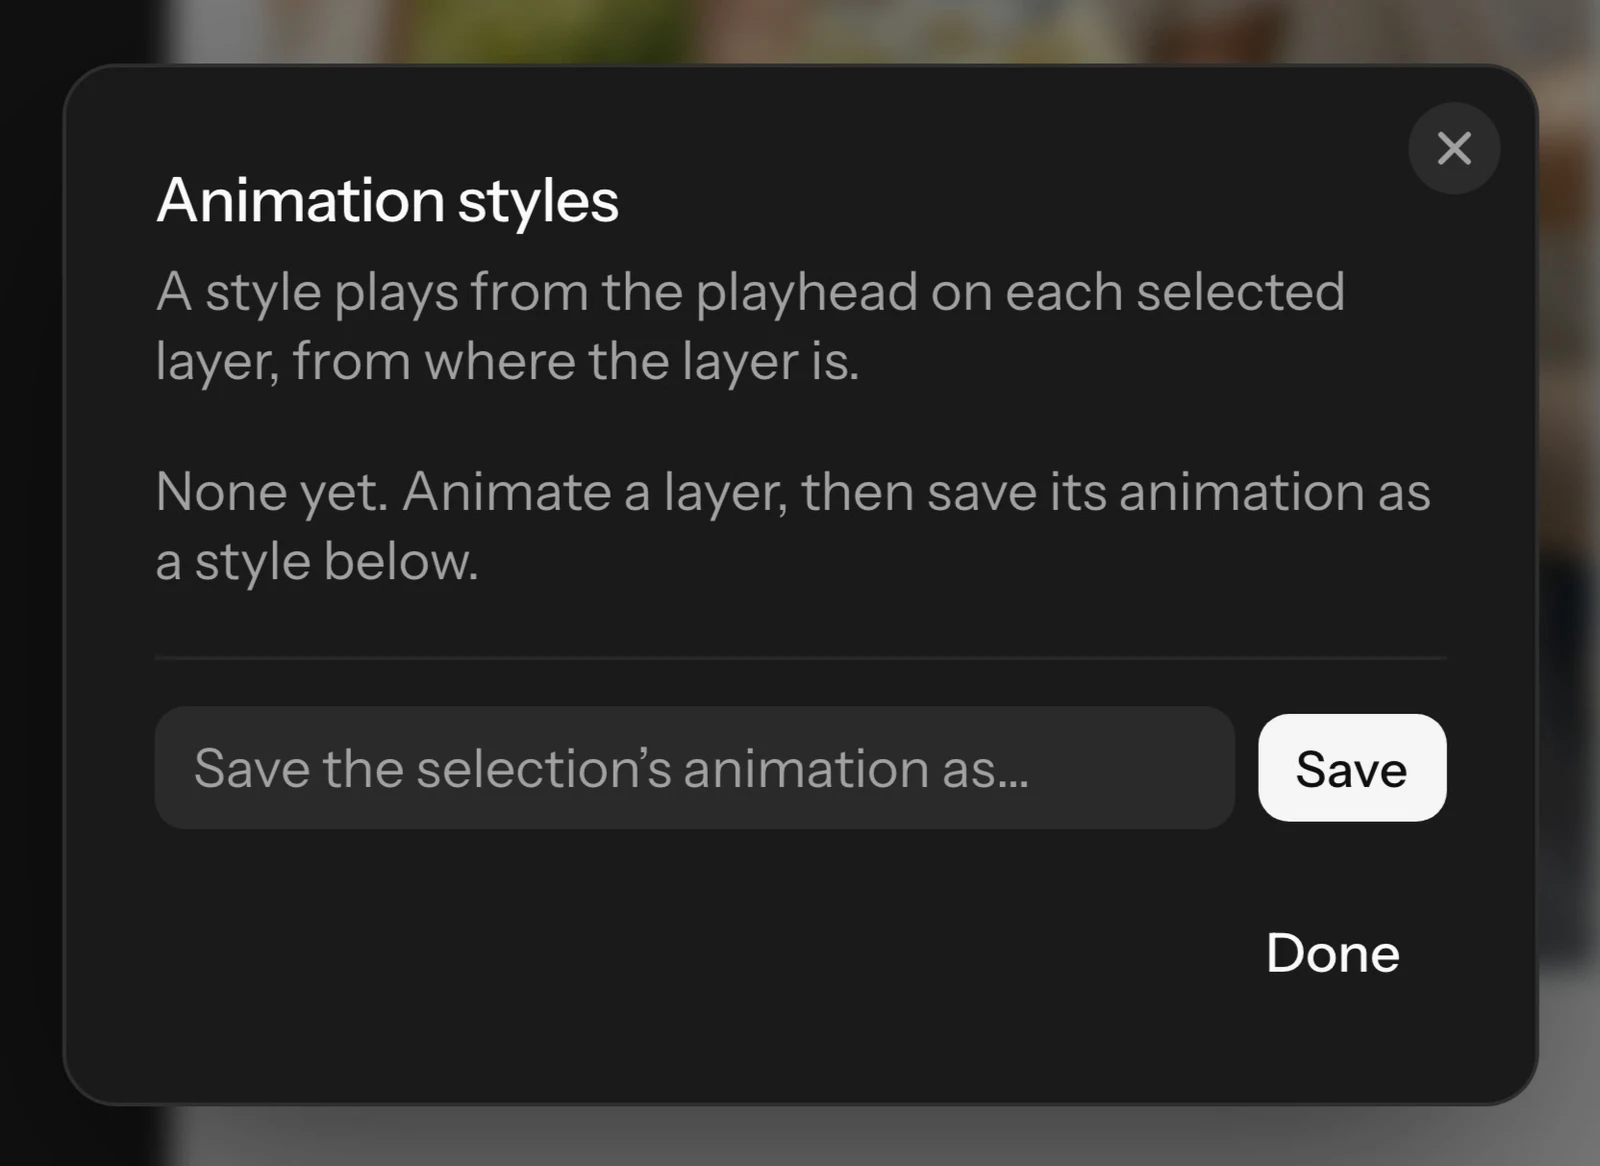
Animation styles save an animation to apply to other layers. Choose Apply animation style… (in Add motion, or in Actions): the Animation styles dialog lists the board's styles, and clicking one plays it from the playhead on each selected layer, from where that layer is. To save one, select an animated layer, type a name and click Save. Animation styles are listed with the board's other styles to rename, edit or delete.
Copy animation and Paste animation (right-click, Copy/Paste as) carry one layer's keyframes to other layers, on this board or another one.
Play motion
Press Shift+Space on Windows (⇧Space on Mac) or click Play in the timeline to play it on the board from the playhead. The same key opens Preview when the timeline is closed.
- Present plays an animated frame's timeline from the start each time it is shown, with its playback setting.
- Preview plays the page's motion as CSS animation.
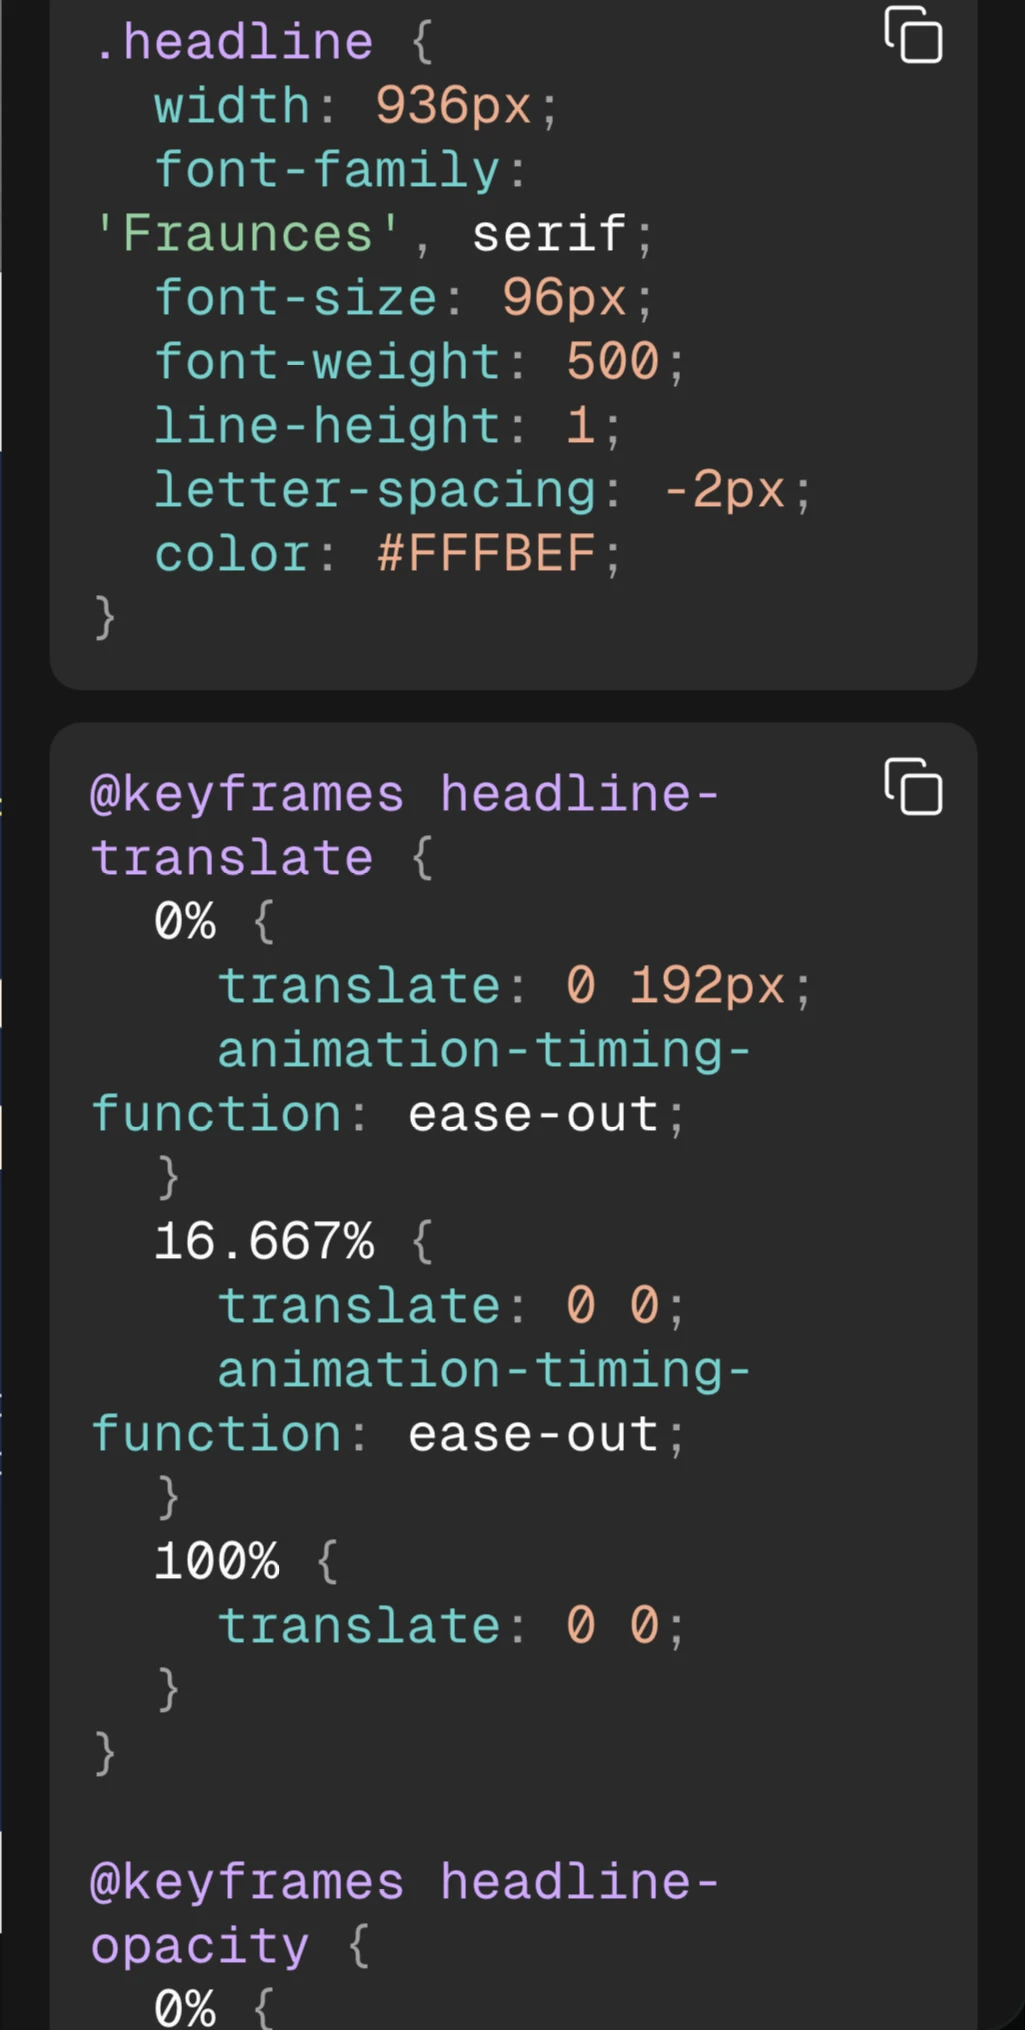
- The Code tab writes the selection's motion as CSS keyframes, as motion.dev code for React, or as JSON.
With your system's reduced motion on, Present and Preview show motion still.
Export motion: video, GIF, Lottie and animated SVG
Select an animated frame (or one that plays video) and open the inspector's Export section; with nothing selected, choose Video as the board's export format.
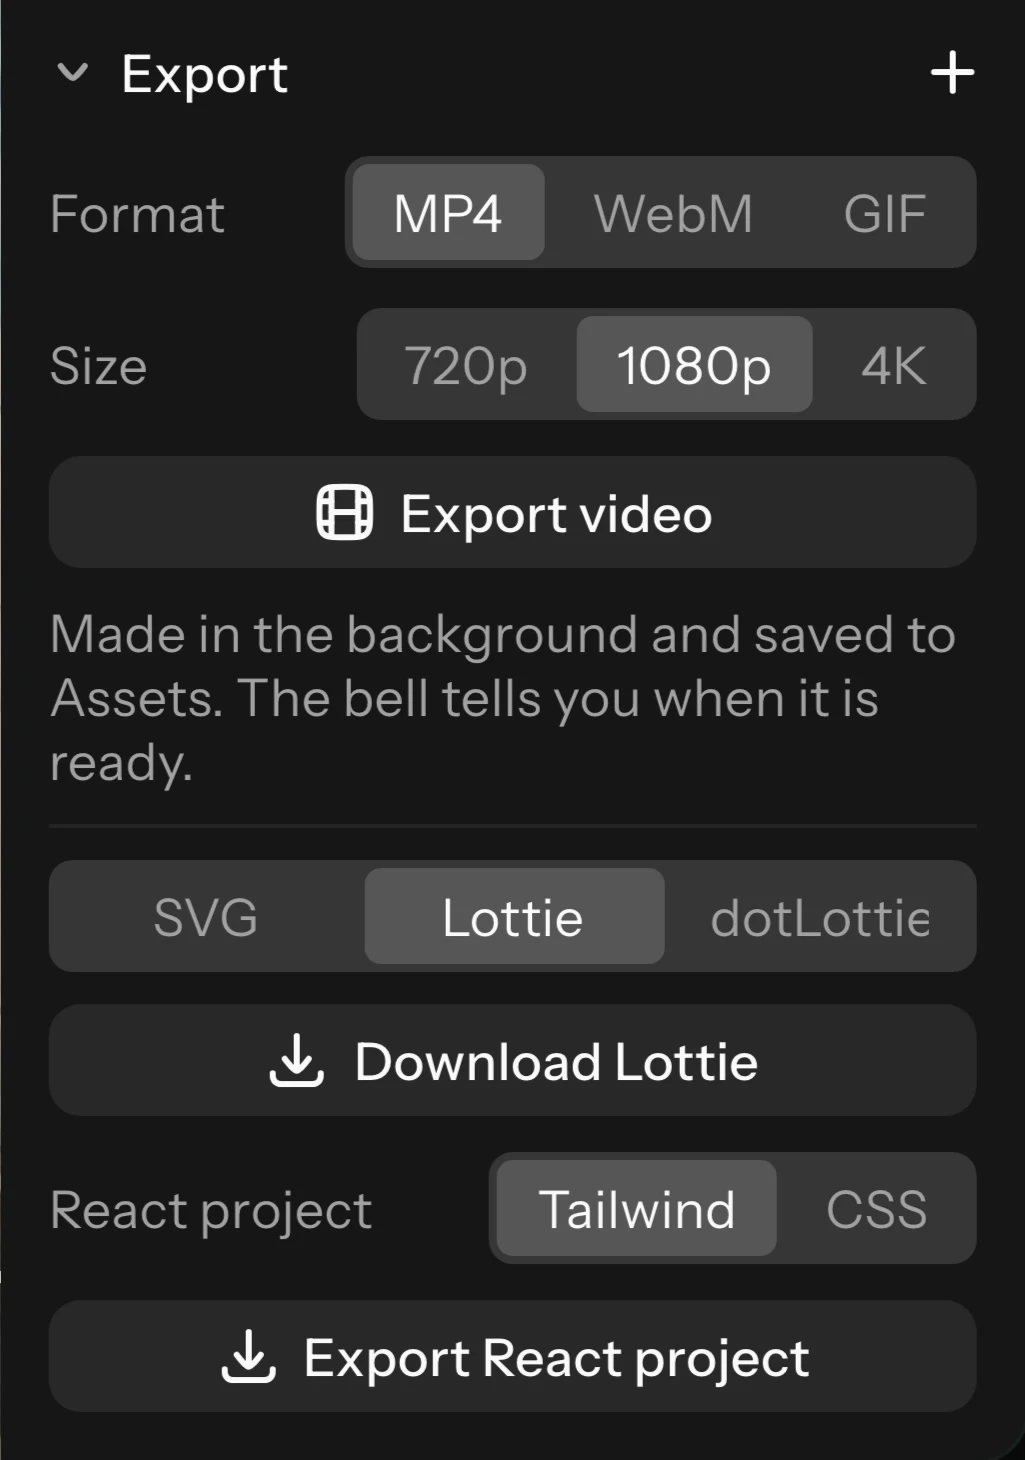
Video and GIF: pick a Format (MP4, WebM or GIF) and a Size (720p, 1080p or 4K; GIF up to 1080p), then click Export video or Export GIF. The size is the frame's short side, the long side following the frame's shape: at 1080p a square frame is 1080×1080, a 16:9 frame 1920×1080, a 9:16 frame 1080×1920 and a 4:5 frame 1080×1350. Sides are rounded to even pixels only, and no side goes past 3840 pixels (1920 for a GIF): a frame longer than that is drawn smaller, its shape kept. The export is made in the background, keeps going if you close the tab, and is saved to the project's Assets; the notification bell tells you when it is ready. The video plays the timeline through once (twice for ping-pong), or as long as its longest video. A GIF is up to 60 seconds and loops unless playback is Once; a 4K video is up to 10 minutes. Video export is part of the paid plans.
Animated SVG, Lottie and dotLottie: under Animated file format pick SVG, Lottie or dotLottie, then click Download. These files are made in your browser and downloaded (several come as one zip); they are not kept in Assets. When something could not be written, a notice lists it:
- Animated SVG moves, turns, scales and fades layers; their size, corner radius, colours and blur play only in video and Lottie.
- Lottie draws text, pictures, gradients and effects as pictures that move, turn, scale and fade. A frame holding a mask is one picture, nested frames do not clip, and a group's own animation is left out.
- A Lottie file loops unless its player plays it once; a dotLottie file carries its playback setting.
Downloading files is part of the paid plans.