AI Prompts for Product Photography: Copy-Ready Examples
Adapt copy-ready AI prompts for product photography, from hero shots to lifestyle scenes, with guidance on references, styling, and checking image accuracy.
Useful AI prompts for product photography specify the product reference, shot purpose, lighting, background, composition, and constraints.
Contents
- Key takeaways
- Start with a product reference and a clear brief
- Copy-ready AI prompts for product photography by shot type
- Place a product into a scene with matching light
- Reuse the direction across a product collection
- Check accuracy before listing or advertising
- Turn an approved brief into a reusable asset
- FAQ
Key takeaways
- Build the brief around a product reference, then specify the shot, lighting, background, and composition; reference inputs do not establish guaranteed fidelity.
- Reuse direction across a collection, changing product-specific details rather than rewriting the entire visual brief for every item.
- Review outputs against the product reference and revise prompts or inputs before treating a generated image as ready for its intended use.
Start with a product reference and a clear brief
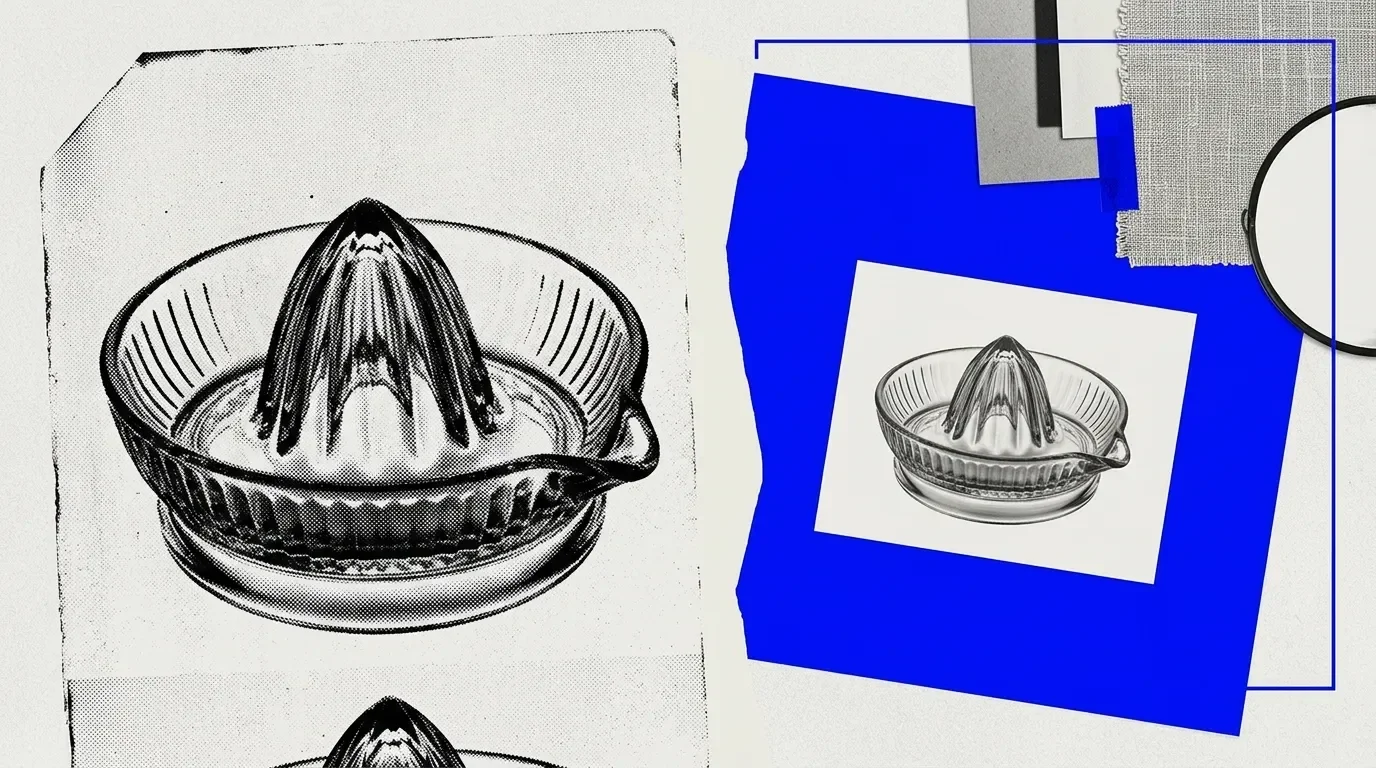
Replace bracketed placeholders with the actual product, intended use, and shot requirements. Choose a clear reference image, then record visible shape, packaging text, colors, materials, and proportions as review criteria.
A text-only brief can explore a product concept. For a task depicting an existing item, use a reference-led brief and compare the output against that reference. Our Shopify Product Multiview workflow template takes a product image, direction prompts, and shot prompts as inputs.
Use this reusable structure: “Using [product reference], depict [product] for [intended use]. Apply [lighting, background, and mood]. Frame it as [shot, angle, and crop]. Preserve [visible product details] and exclude [unwanted additions].” Keep shared direction separate from shot-specific requests so you can revise the framing without rewriting the entire brief.
Copy-ready AI prompts for product photography by shot type
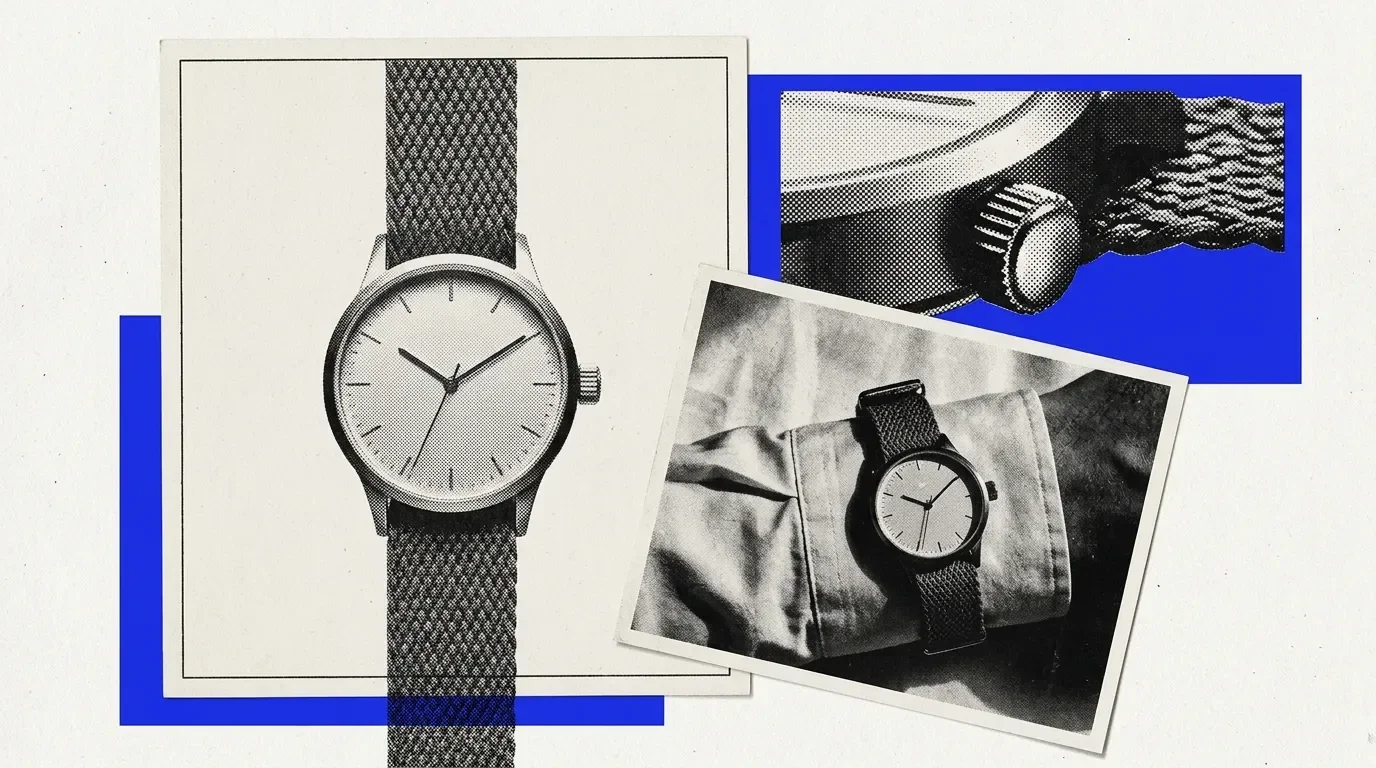
Our product content workflow templates include Shopify Product Multiview, which develops shot prompts from direction prompts for hero, lifestyle, and multi-view uses, and Shopify Product Image Generator, which accepts style, scene, lighting, background, mood, and overall visual direction.
- Clean hero image
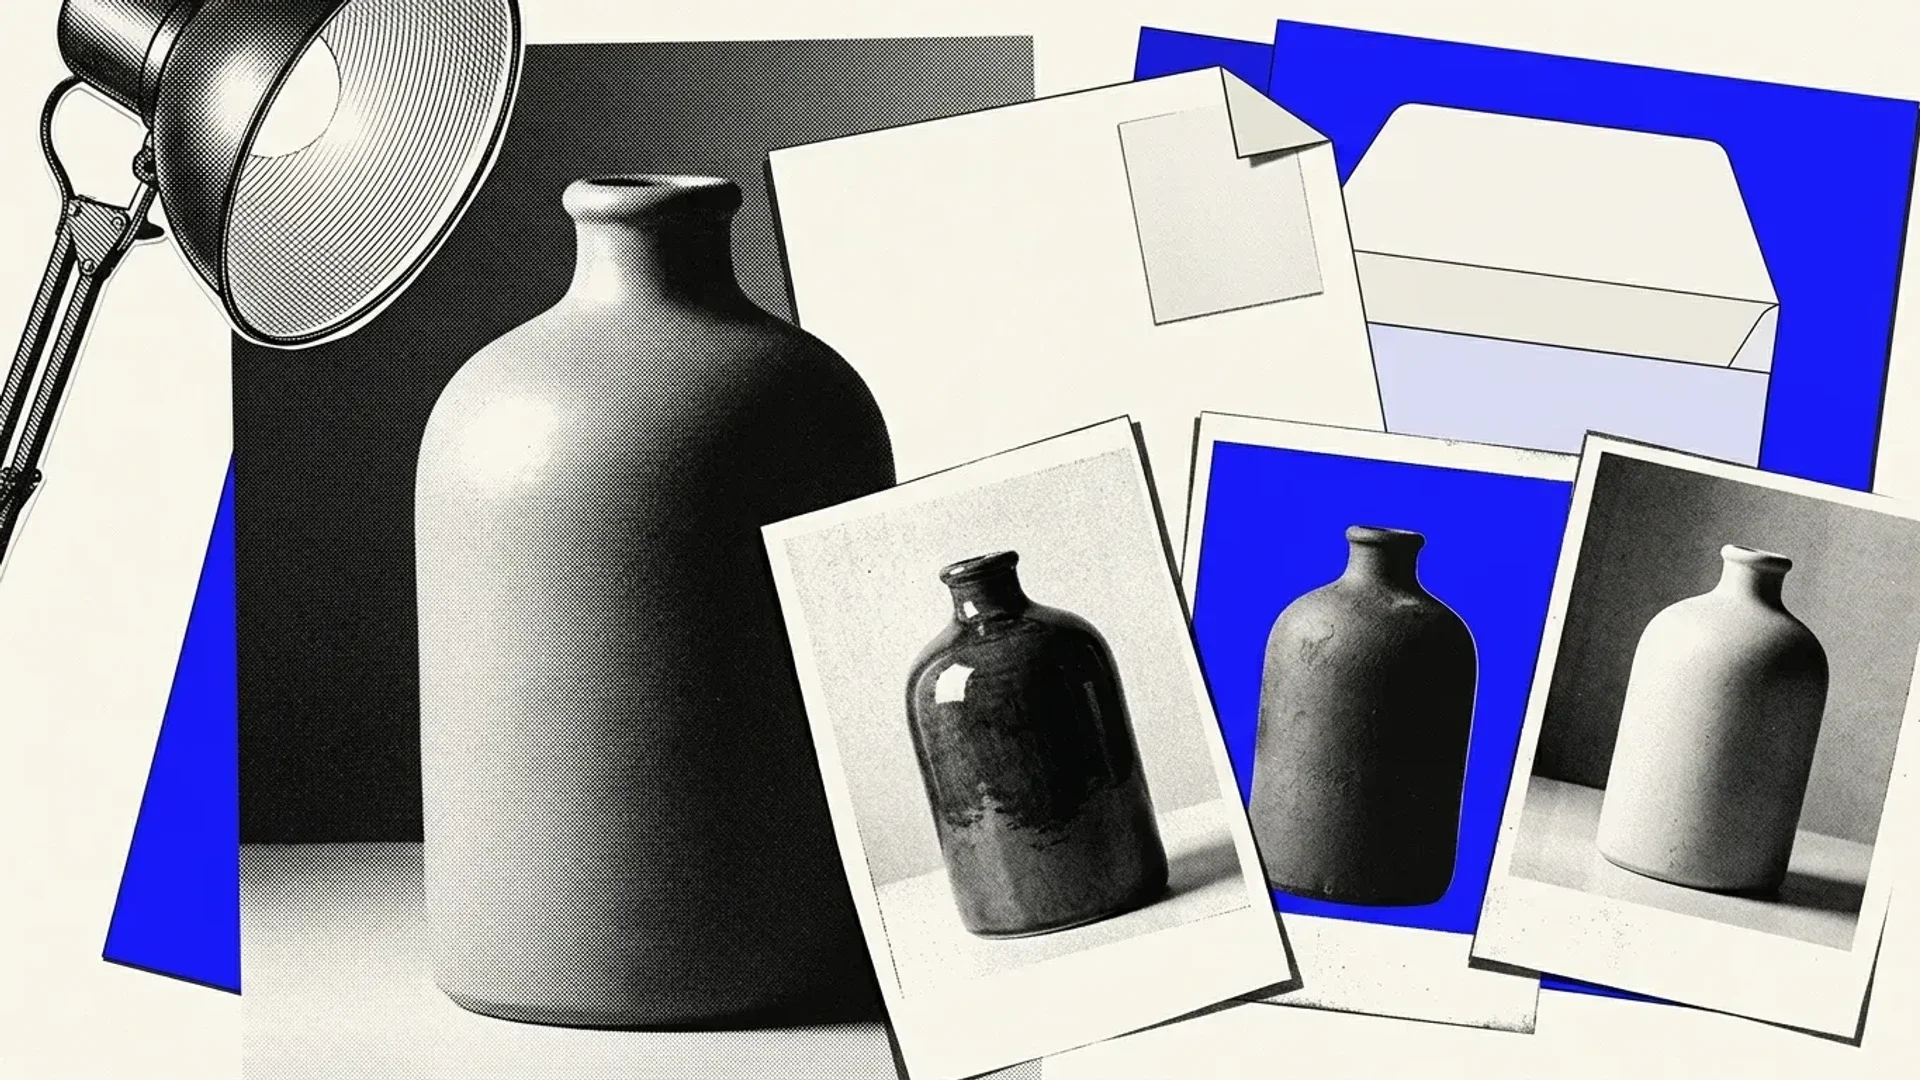
“Create a clean hero image of [product], using [product reference] as the visual reference. Use a plain [neutral background color], soft directional light from [direction], and a restrained contact shadow. Show [requested view], with the entire product visible, centered, and surrounded by [amount of space]. Preserve the reference’s visible silhouette, proportions, colors, materials, and label wording. Add no props, extra text, or decorative details.”
Lifestyle image
“Create a lifestyle image of [product] using [product reference]. Place it in [setting relevant to its use], supported by [minimal relevant props]. Keep the product as the focal point, with its identifying features unobscured. Use [lighting direction and softness], [background treatment], and [mood]. Preserve visible product details and proportions; do not add accessories to the product itself.”
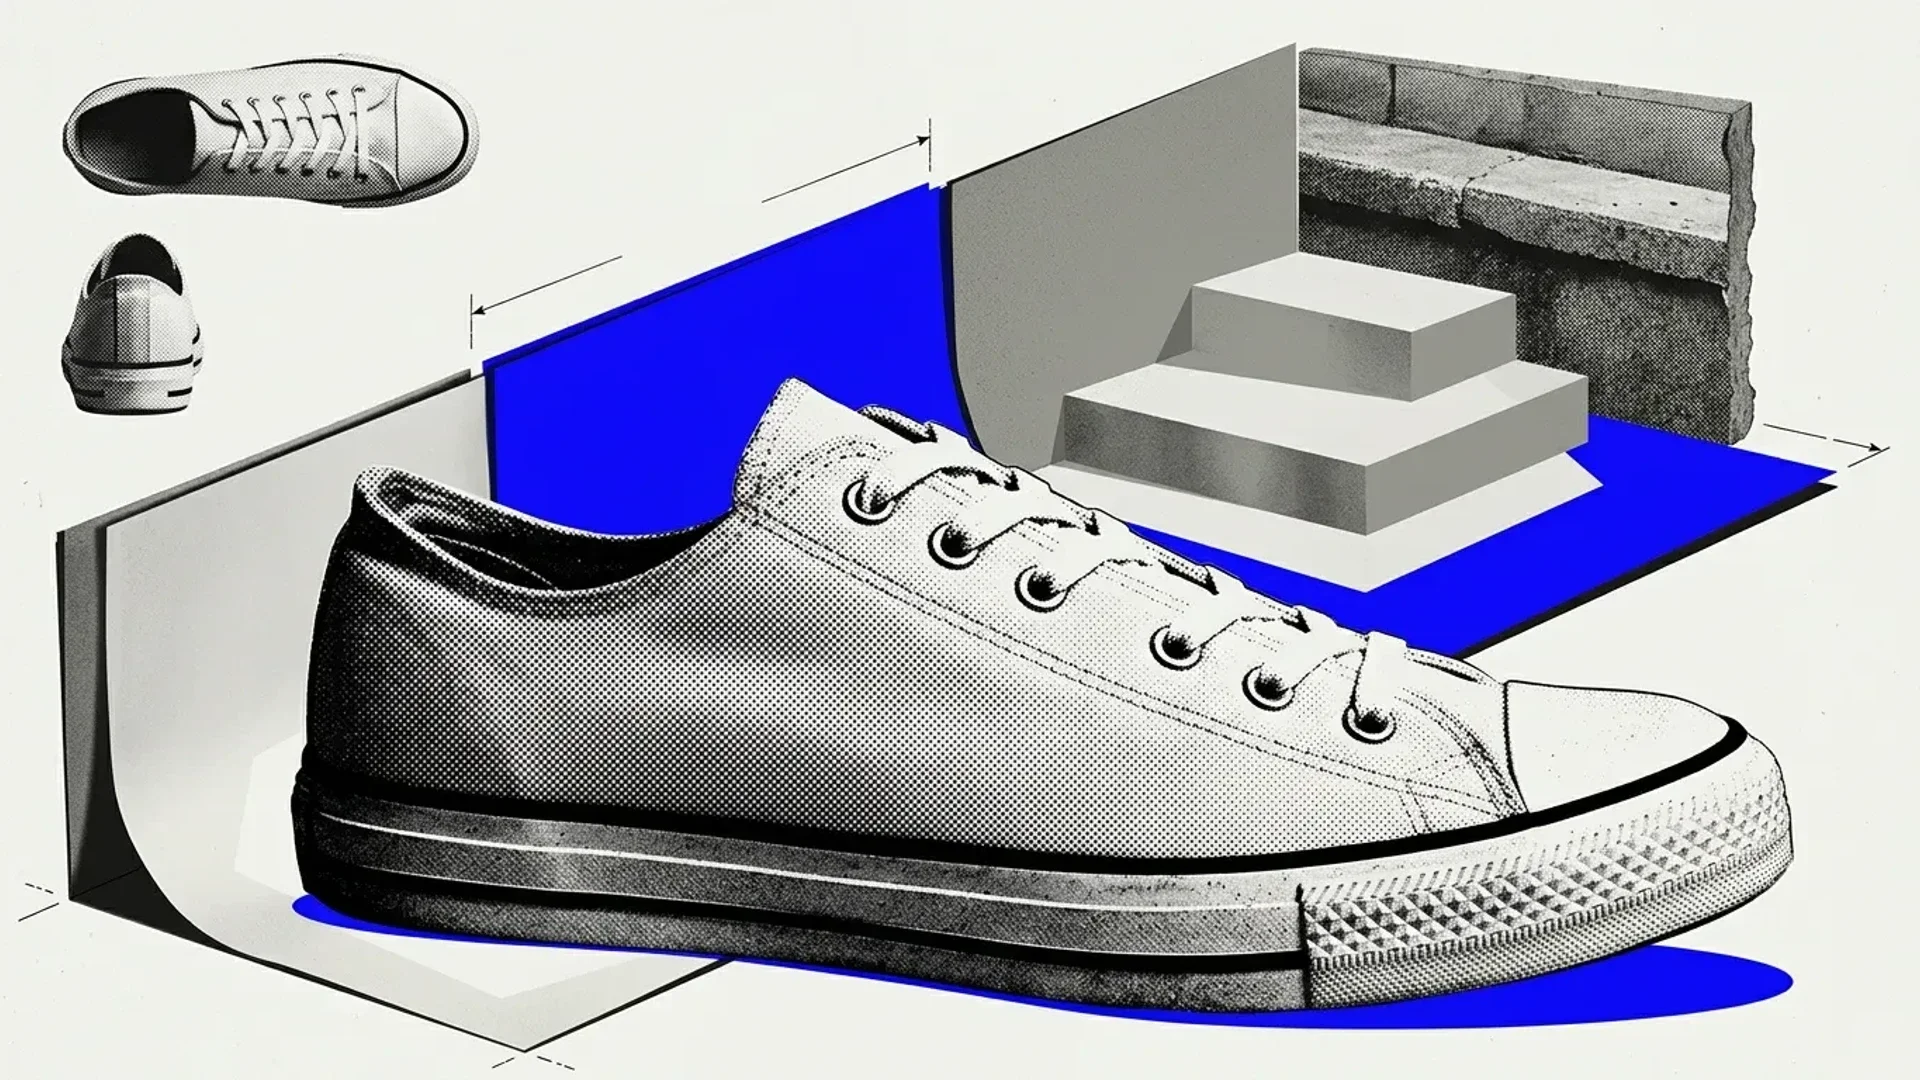
Adapt the setting and props to the product’s use. Keep the approved product view and lighting direction stable when exploring background variations.
- Multi-view sequence
“Using [product reference or references], create separate shot briefs for [front view], [side view], and [three-quarter view]. For every shot, retain [background], [light direction and softness], [camera height], [framing], and [mood]. Request consistent product scale and visible reference details.
Render and review each view separately.
Place a product into a scene with matching light
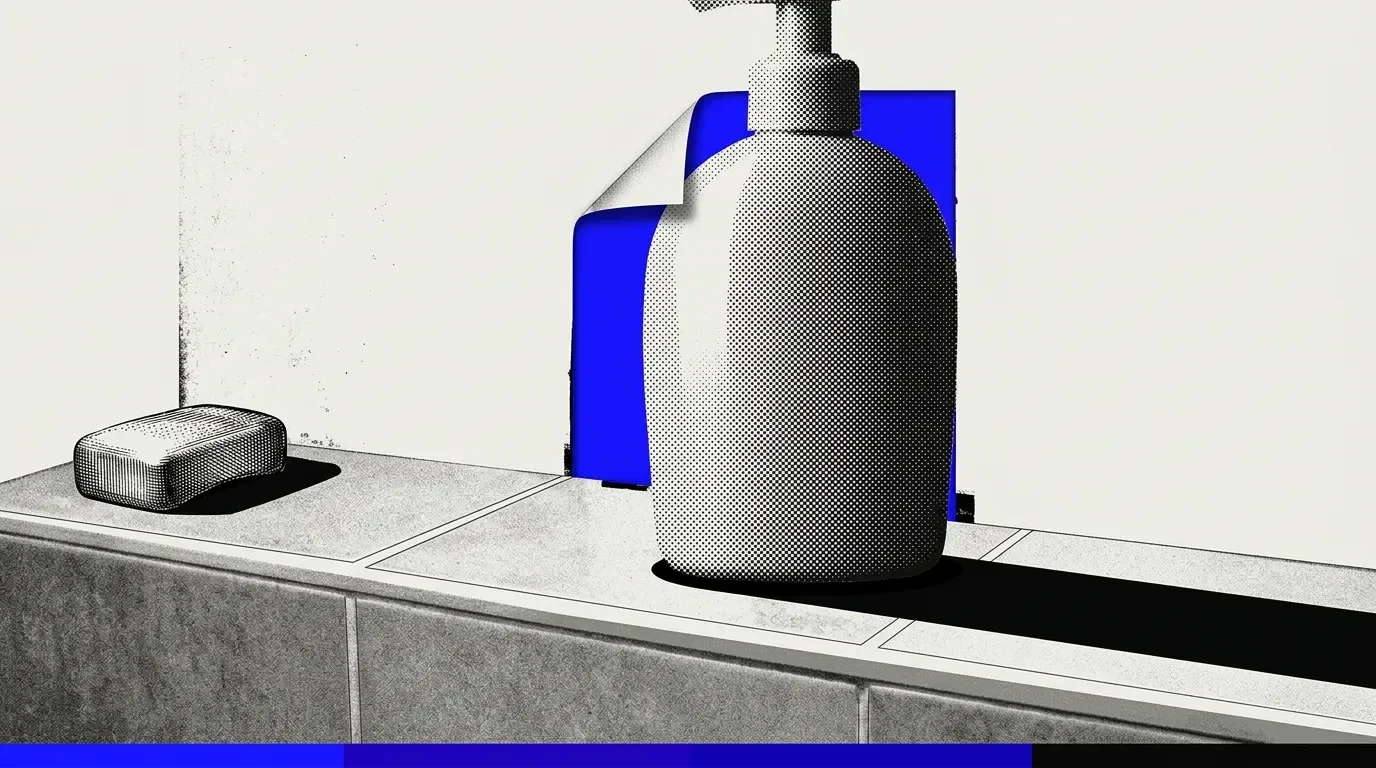
Start with an existing scene whose surface, camera position, and lighting suit the product. Our Product Image in Scene workflow template takes a product image, a scene image, and optional instructions to steer lighting, perspective, and styling.
“Use [product reference] as the product reference and [scene reference] as the existing environment. Place the product at [position on a visible surface], at [scale relative to a known scene object]. Match the scene’s [camera angle] and perspective.
Follow the existing light from [direction], with [soft or hard] shadow edges. Request a contact shadow beneath the product consistent with nearby objects. Add [reflection appropriate to the surface, or no distinct reflection for a matte surface]. Retain the product’s visible shape, colors, materials, and label details. Keep the surrounding scene and styling unchanged.”
Replace each bracket with an observation from the scene. If nearby objects cast shadows to the right, request light from the left. Avoid requesting an eye-level product view inside a scene photographed from above.
Product Integration supports instructions describing placement, lighting, and angles. Check the result for believable surface contact and scale, then revise whichever mismatch is visible.
Reuse the direction across a product collection
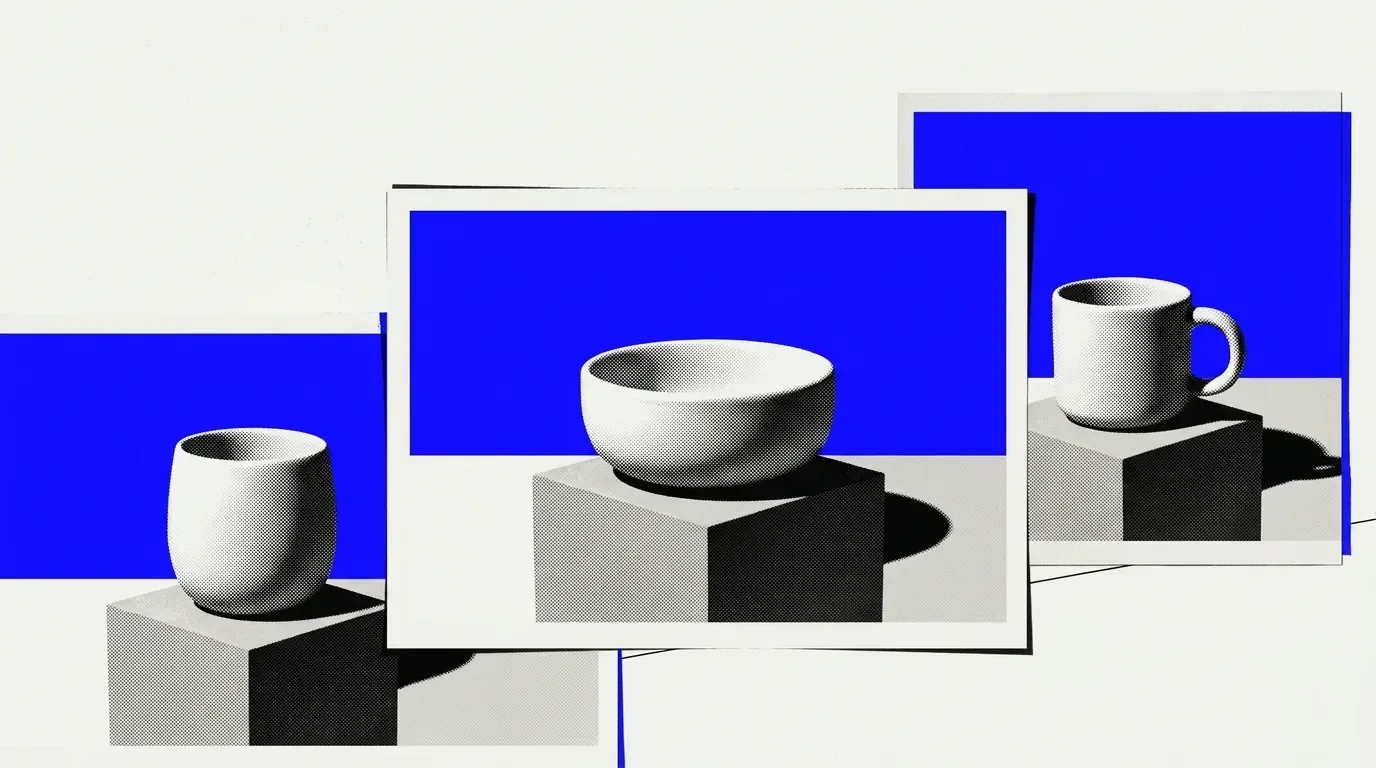
Separate the brief into fixed direction and variable product details. Keep the background, lighting direction, framing, and mood unchanged; replace the garment reference and verified details for each piece.
“Use [garment reference] to create [requested shot]. Show [garment type] with [verified color, cut, length, and visible construction details]. Keep a warm gray background, soft light from camera left, a straight-on camera angle, centered framing, and a quiet editorial mood. Frame [specified crop] with consistent space around the garment. Preserve the visible silhouette, seams, closures, and pattern placement shown in the reference. Add no accessories or decorative details.”
Our reusable direction and shot prompts let you carry the shared brief across similar products or collections. Review each garment’s texture and construction separately; consistent direction does not guarantee faithful fabric detail.
Check accuracy before listing or advertising
Compare the output with the product reference before accepting it. Check silhouette, label wording, color, material appearance, scale against known scene elements, and unintended additions. Correct one observed issue at a time: “Remove the added seam on the front panel; retain the approved lighting, background, framing, and product proportions.” Then recheck the whole product for new changes.
Product Integration is intended for product marketing and catalogs, while Product AD Storyboard creates storyboards for product campaigns. Apply review criteria to the intended use: a listing needs an accurate product depiction; an exploratory campaign scene can test atmosphere and composition, but it still needs review before publication. If revisions leave a material mismatch unresolved, retain a verified photograph for the accuracy-critical use.
Turn an approved brief into a reusable asset
Save the accepted prompt, reference inputs, selected output, and intended use together in a shared handoff folder.
To reuse an approved brief in a workflow, try Raelume to build reusable creative workflows.
FAQ
Can I change the model for an individual workflow block in Raelume?
Yes. In Raelume, you can choose a model for each workflow block and change that selection. When comparing models, keep the reference and prompt unchanged so you can assess differences in product detail, composition, and adherence to the brief.